Defining Prices
To define the markup to be used or the fixed cost/price to use when posting transactions, we use the Prices option from the job card ribbon.
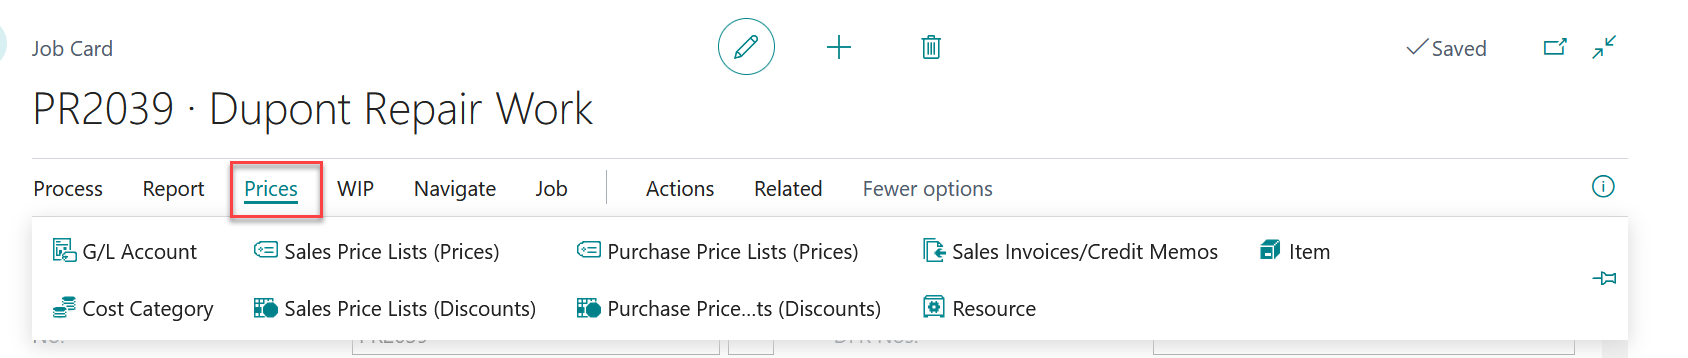
Depending on your business process, you may choose to assign a markup based on cost categories, or Resources/Items.
Note: Usually a company will adopt one of the options above. It is very uncommon that you would select both.
To use Mark-ups by Cost Categories, select the Cost Category Option from the Prices drop down.
From here, you will select each of the cost categories that you will be utilizing on the job and assign the appropriate mark up for each.
In our example you can see we are using several different categories and have assigned mark ups for each.
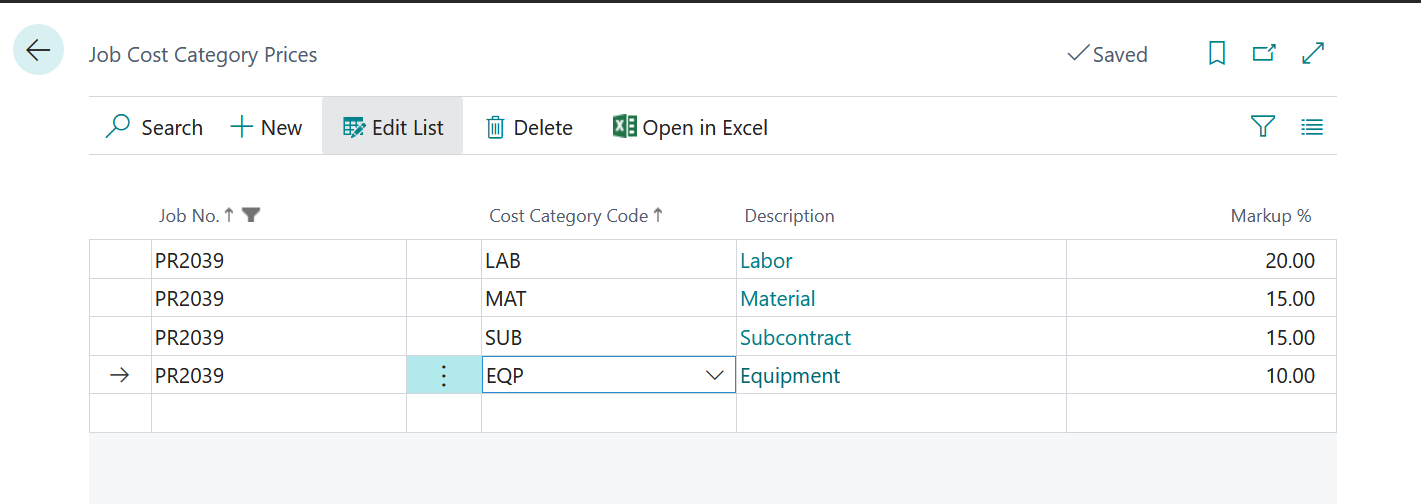
Once completed, any cost postings to those cost categories will automatically result in a billable line reflecting the corresponding markup.
If you are using the Resources/Items option, you will set each up separately.
To set up your resources, select the Resources option from the Prices drop down.
Since it is uncommon to know the exact resources who will be working on the job at the time of set up, it is a good practice to set up your resource cost and mark up using Resource Groups.
Note: You will need to ensure each of your resources are assigned to a resource group on the resource card.
On this screen you will set up the following
- Job Task No. – Fill this in if your entries are task no. specific.
- Skill Class Code – If applicable
- Code – This is the Resource Group that you are defining
- Unit of Measure Code – Select the appropriate UOM
- Work Type Code – if you are charging different rates based on different employee shifts, please identify each.
- Unit Cost – Enter the cost to be charged for this resource group
- Markup% – Enter the Markup you are charging for this resource group
- Unit Price – This will be automatically updated after your cost and mark-up are entered.
- Cost Type
- Cost Burden Multiplier
- Line Discount %
- Description- automatically entered based on your Code.
In our example, we have assigned different Resource groups along with the corresponding markup for each.
long with d: If you use Resource Type “ALL”, also populate the “Work Type Code”. Employees belonging to this Work Type Code will use employee default Cost.
- Job G/L Account Cost/Price Sheet: To set up Cost/Price for G/L Accounts, enter the Job Task No., G/L Account/s and the Markup %. In the below example, G/L Account 4020 (Cost of Materials) has a 20% Markup, which when entered it the field got zeroed out and transferred to “Unit Cost Factor” field.

2. Job Cost Category Prices Sheet: In this example, the Subcontract Cost Category has a 30% Markup on it and the Equipment Cost Category has a 40% Markup on it.
