Job Material Planning
1. JOB MATERIAL PLANNING
The Job Material Planning (JMP) in ProjectPro allows user to plan and manage procurement of item and resources for a given job. For performing this task, you can search for Jobs in the search option or from the role center click on Jobs.
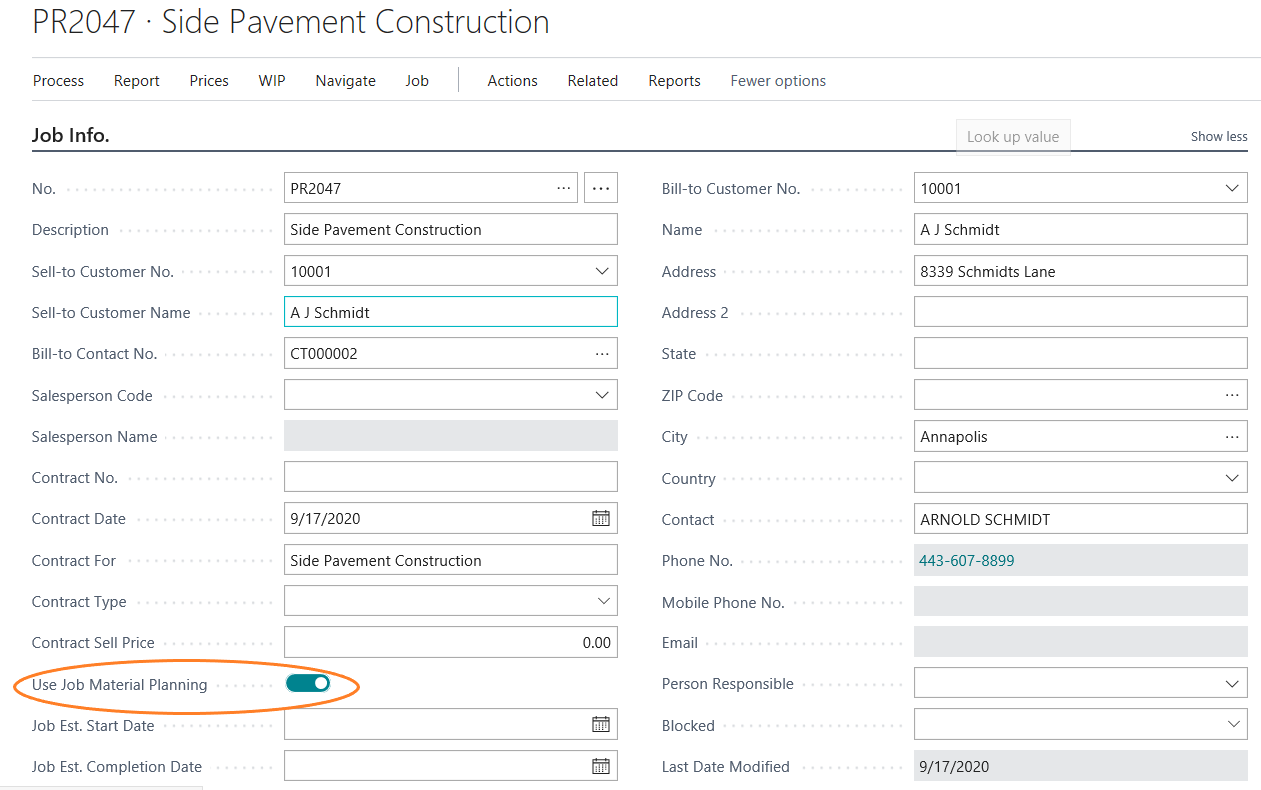
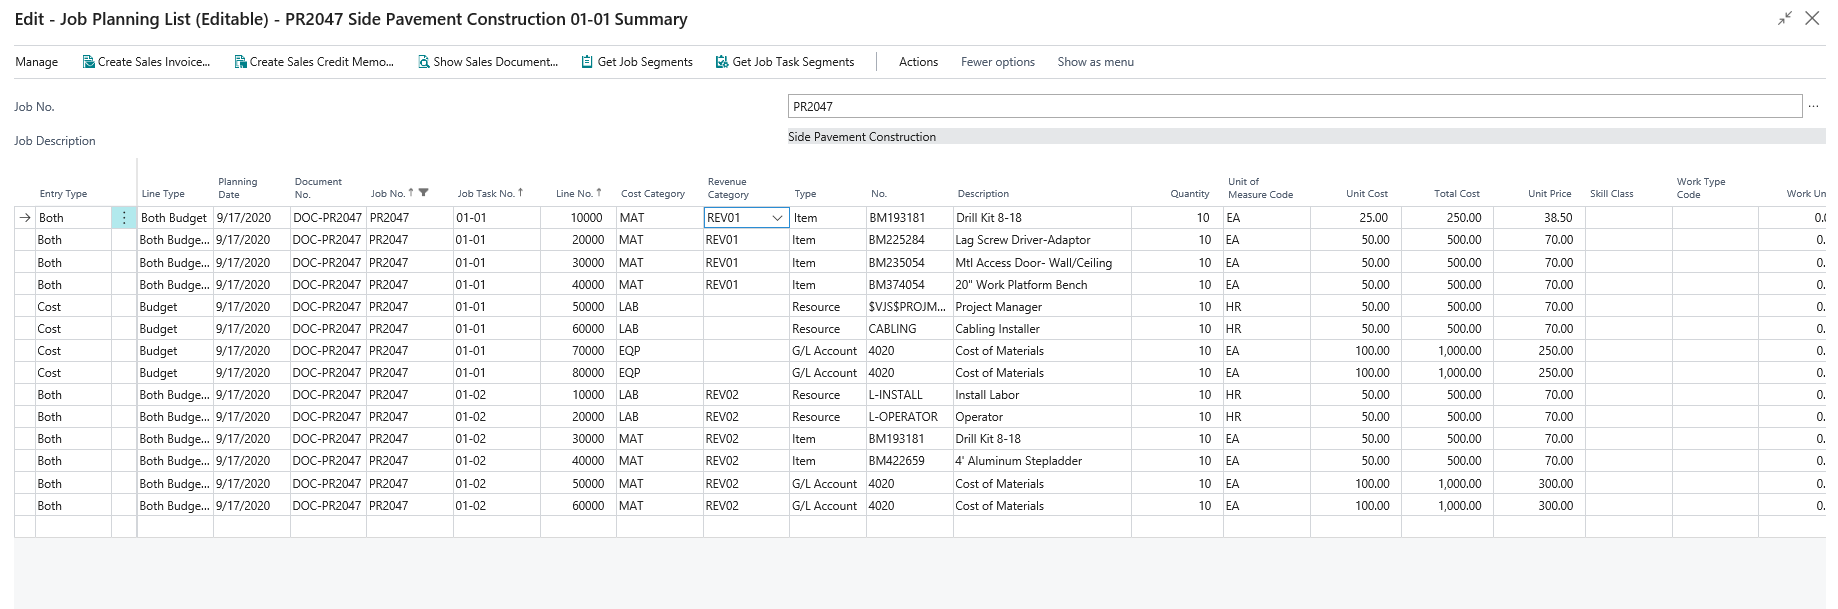
On the Job card set Use Job Material Planning as True. This will enable user to create Job Material Planning (JMP) for this Job. After enabling this option go to Job planning Lines from the job card and mention the relevant Lines. All the lines that are marked under Budget/Both Budget and Billable under job planning lines would be considered under Job Material Planning for type Item & Resources.
For selecting Job Planning Lines go to Process → Job Planning Lines(Editable) option from Job card.
Once you have mentioned all your defined cost and price in Job Planning Lines than from the Job card → Process → Job Material Planning. Click On job Material Planning (JMP) option to go to JMP option.
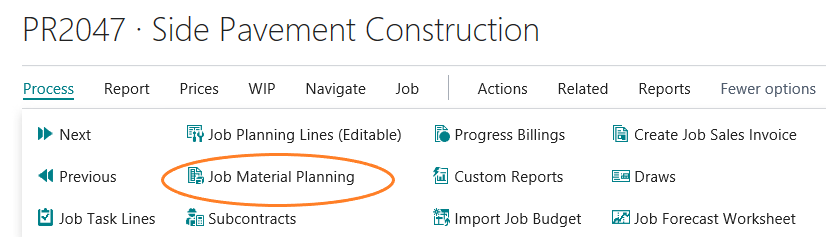
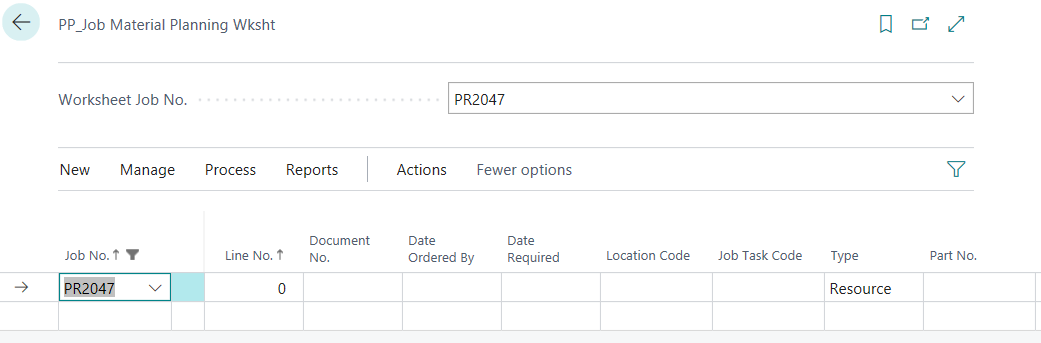
From this option Job Material Planning (JMP) worksheet would open.
2. COPY BUDGET TO JOB MATERIAL PLANNING
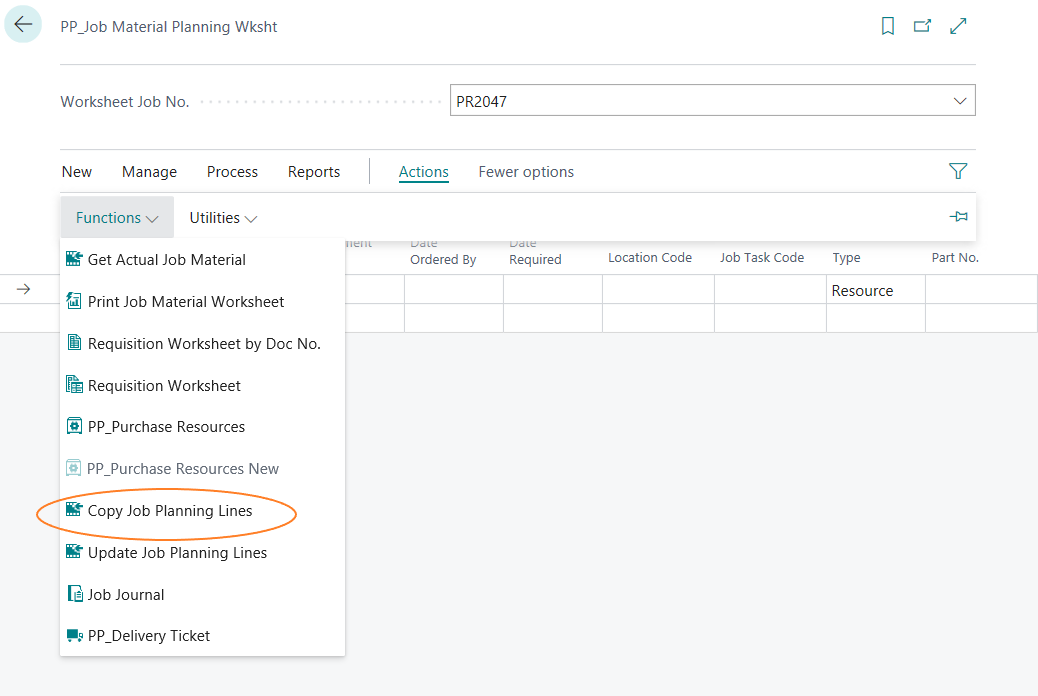
At JMP worksheet From Actions → Functions → Copy Job Planning Lines you can copy Resources/Item lines of type Budget/Both Budget and Billable, mentioned in your Job planning lines onto your JMP worksheet. If you want you can add extra items and resources also on the JMP worksheet that are not mentioned at the time of Job Planning Lines.
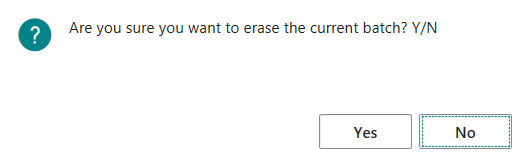
After Clicking on the Copy Job planning Lines option, system would ask for option, select Yes and all lines would be populated.
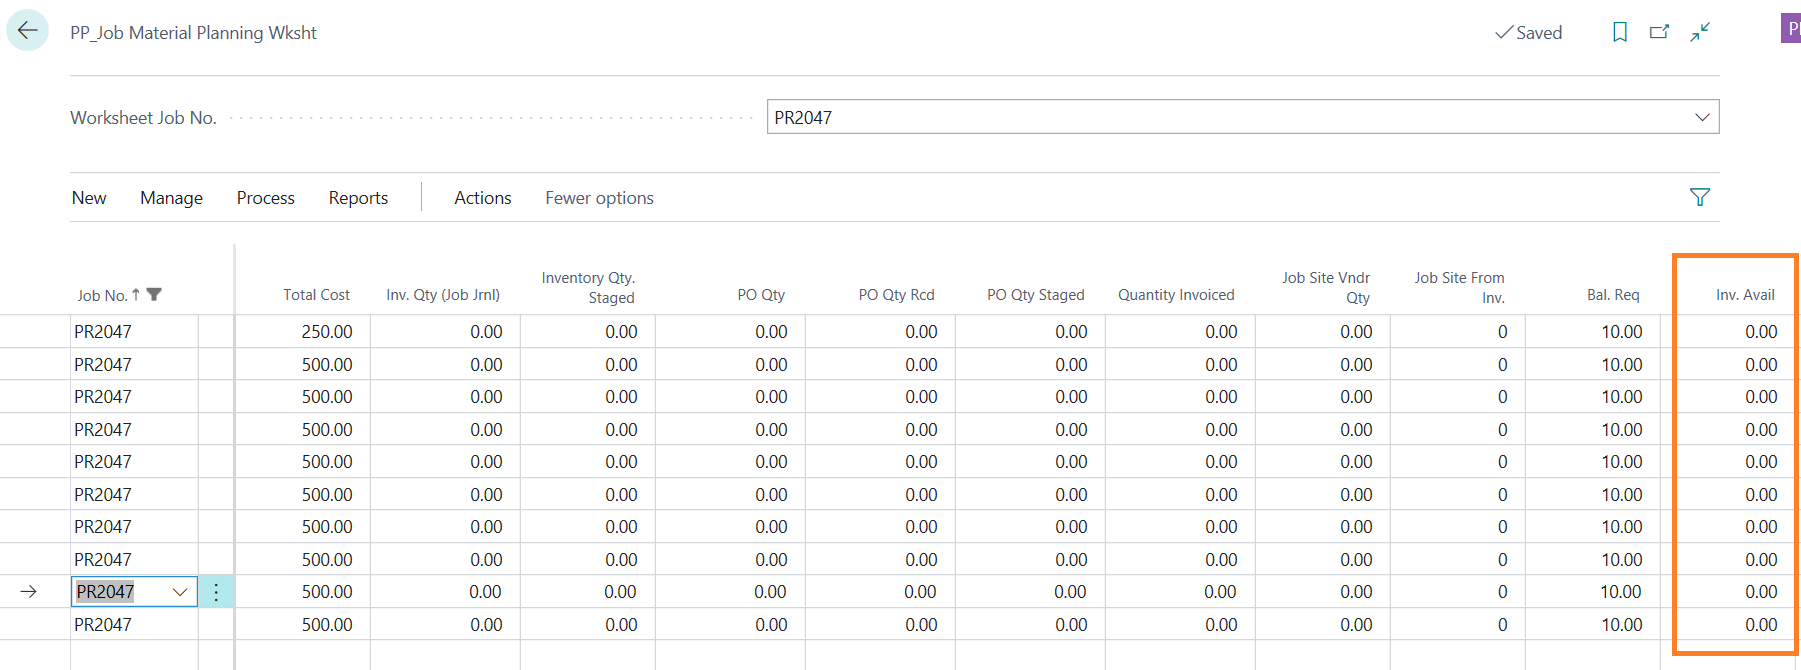
Items & Resources lines will populate in the JMP worksheet. Mention the relevant “Document No.” and “Date Ordered By” fields in the JMP worksheet as required, you can enter multiple document numbers and dates if you want to plan this accordingly for different dates and document numbers. Update the Vendor No. against which you want to carry out your procurement process at the JMP worksheet. In case vendor is defined on the Item & Resource card, then system picks automatically from the masters.
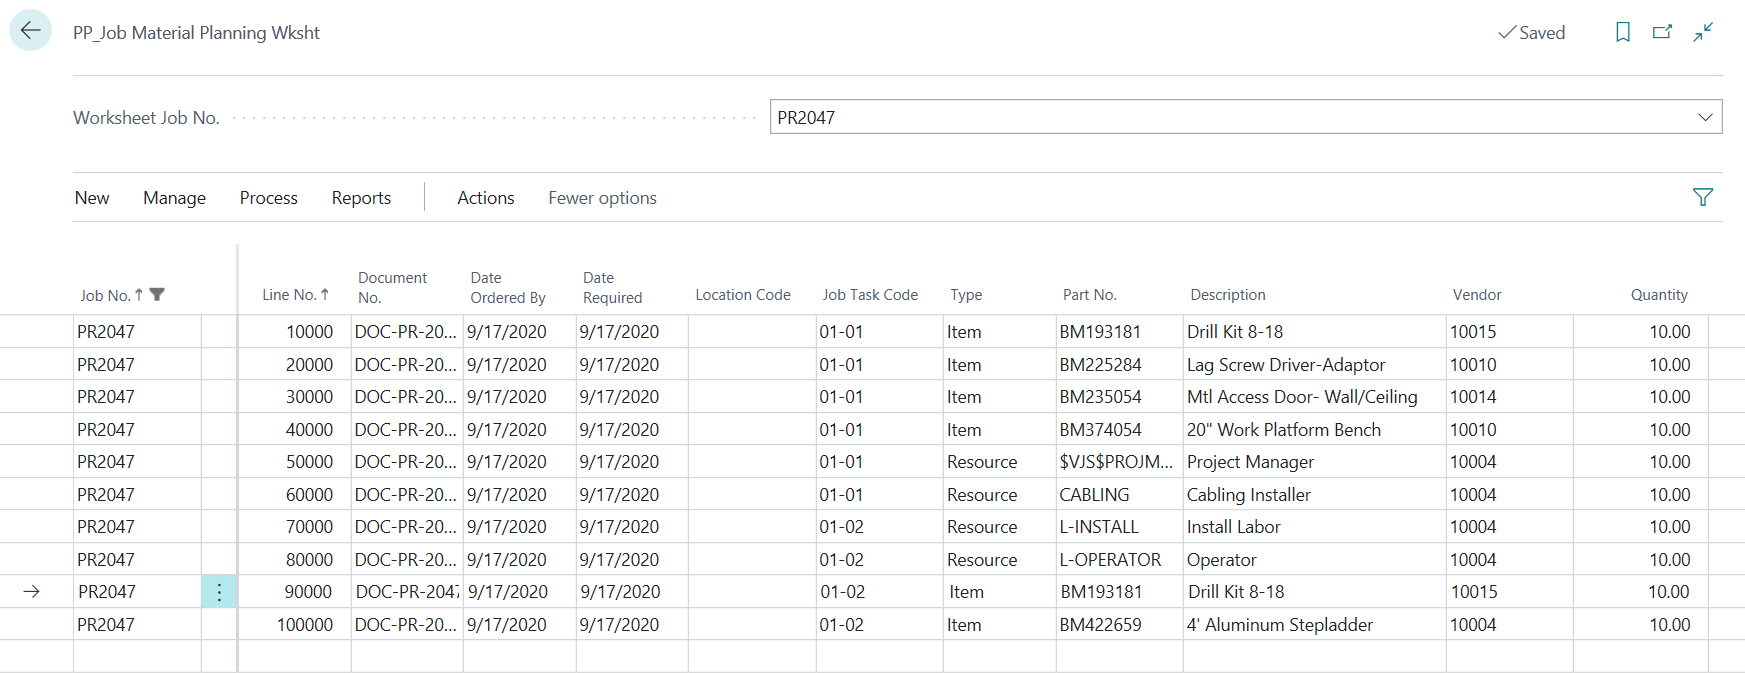
Check available inventory from the “Inventory Available” column in the JMP worksheet
3. REQUISITION WORKSHEET PROCESS
Once you have mentioned all the required fields on the JMP worksheet. You can procure either Items or Resources or both from the options available at the Process tab of JMP worksheet.
- 1) Go to Process → Requisition Worksheet/Requisition Worksheet by Doc No. → Select this relevant option for procuring of Items.
- Requisition Worksheet – This option is used for selecting all items in one go, irrespective of Document No. and date mentioned at the JMP Worksheet i.e. this option would bring in all the lines at the Requisition worksheet of type Item.
- Requisition Worksheet by Doc No. – This option is used in case you have used multiple document numbers on the JMP worksheet than you can generate requisition based on document no. of the selected line.
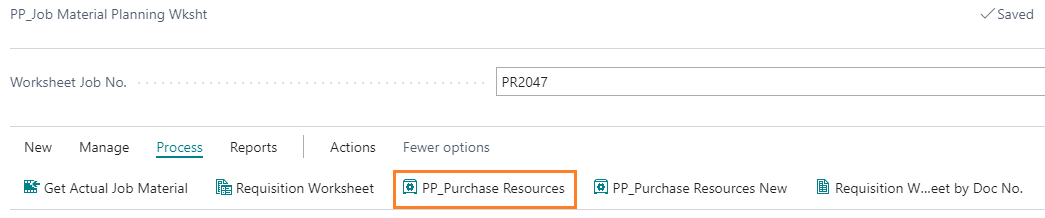
- 2) Go to Process → PP_Purchase Resources → Select the relevant option for procurement of Resources.
- Select this option for procurement of the resources from JMP worksheet.
- Before selecting this option, make sure that selected resource has a check mark on their master card on “Resource is Purchasable” field under invoicing tab. If this Boolean is false on resource card, then system will not generate any lines at Purchase Resources.
- Please note that, this Boolean can also be set to yes at JMP worksheet, but as a suggestable process, it is always good to carry this action at the masters.

Now depending on the need there can be two options i.e. either you are procuring an Item or procuring a resource.
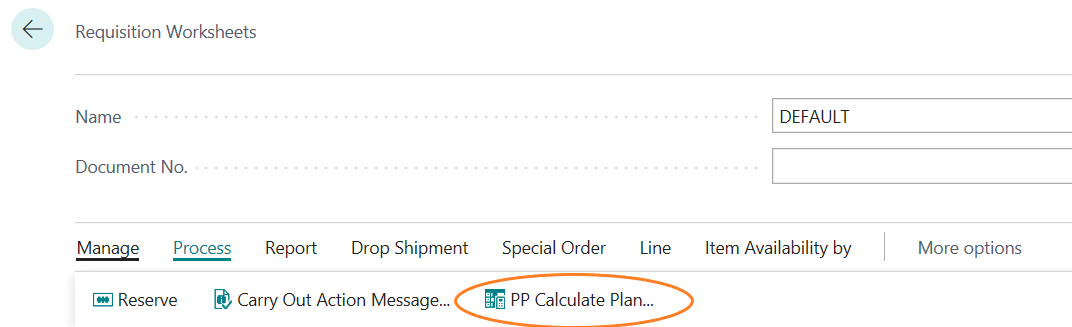
Option 1: Procurement of Items
Go to Process → Requisition Worksheet: On Requisition Worksheet → Process → PP Calculate Plan.
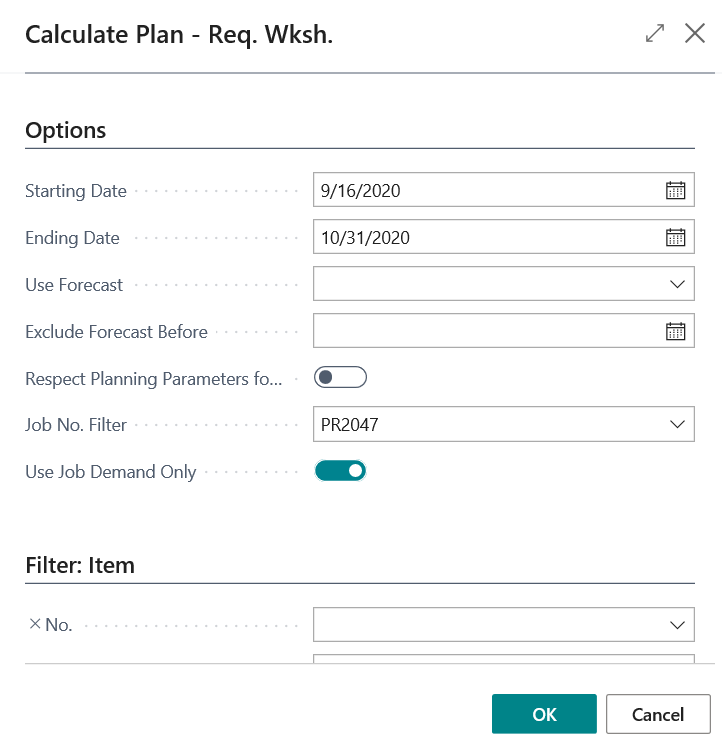
Select the options available on the PP Calculate Plan
| FIELD | DESCRIPTION |
|---|---|
| Starting Date: | Starting date for calculating plan corresponding to the “Date Ordered By” field on JMP worksheet |
| Ending Date: | Ending date for calculating plan corresponding to the “Date Ordered By” field on JMP worksheet |
| Use Forecast: | Specifies a forecast that should be included as demand when running the planning batch job. → Not used in ProjectPro |
| Exclude Forecast Before: | Specifies how much of the selected forecast to include, by entering a date before which forecast demand is not included. → Not used in ProjectPro |
| Respect Planning Parameters: | Specifies that planning lines triggered by safety stock will respect the following planning parameters: Reorder Point, Reorder Quantity, Reorder Point, and Maximum Inventory in addition to all order modifiers. If you do not select this check box, planning lines triggered by safety stock will only cover the exact demand quantity. → Not used in ProjectPro |
| Job No. Filter: | Filter the worksheet by Job No. to show only selected job’s lines. |
| Use Job Demand Only: | Set this as True, to get job demand for only selected job. |
When you click on OK it would populate all Items mentioned in the JMP worksheet for this particular Job under the mentioned selected dates range.
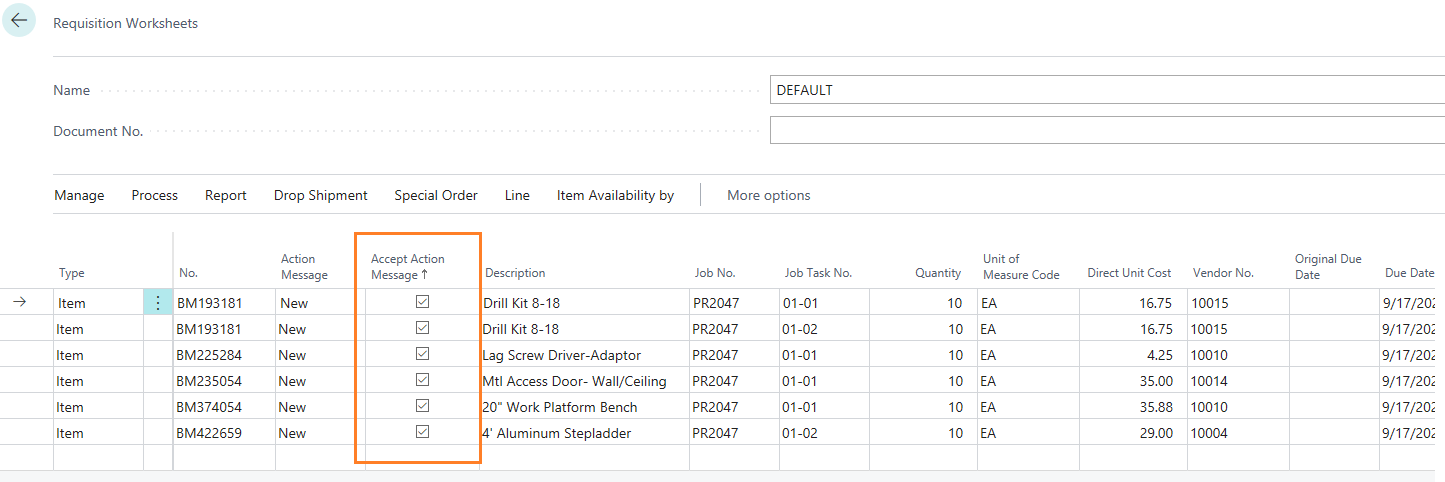
Once the lines are populated on the requisition worksheet, select the lines for which you want to generate the Purchase Order by selecting/removing the check mark on “Accept Action Message”. The “Action Message” indicating New, means it is creating a new Purchase Order since there are none in stock.
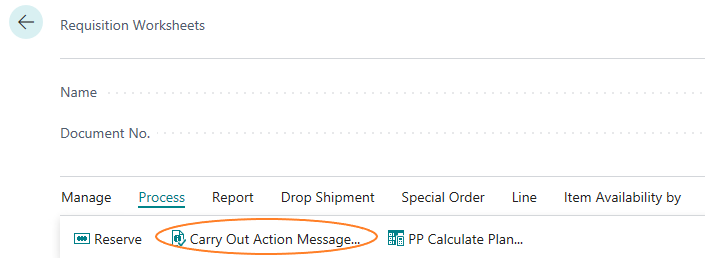
Once you have selected the lines against which you want to generate the PO, click on “Carry Out Action Message”.
Please ensure that Vendor No. field is populated/entered manually before creating a PO.
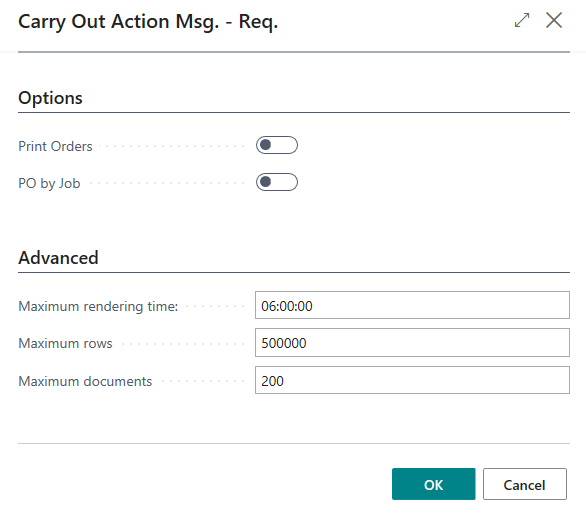
| FIELD | DESCRIPTION |
|---|---|
| Print Orders: | Place a check mark on this, if you want to print or email them to vendors |
| Print by Job: | This will create a new Purchase Order per Vendor per Job. If you run requisition worksheet wide open without running for a specific job, then you can check this option to avoid getting one Purchase Order, per Vendor for all Jobs. |
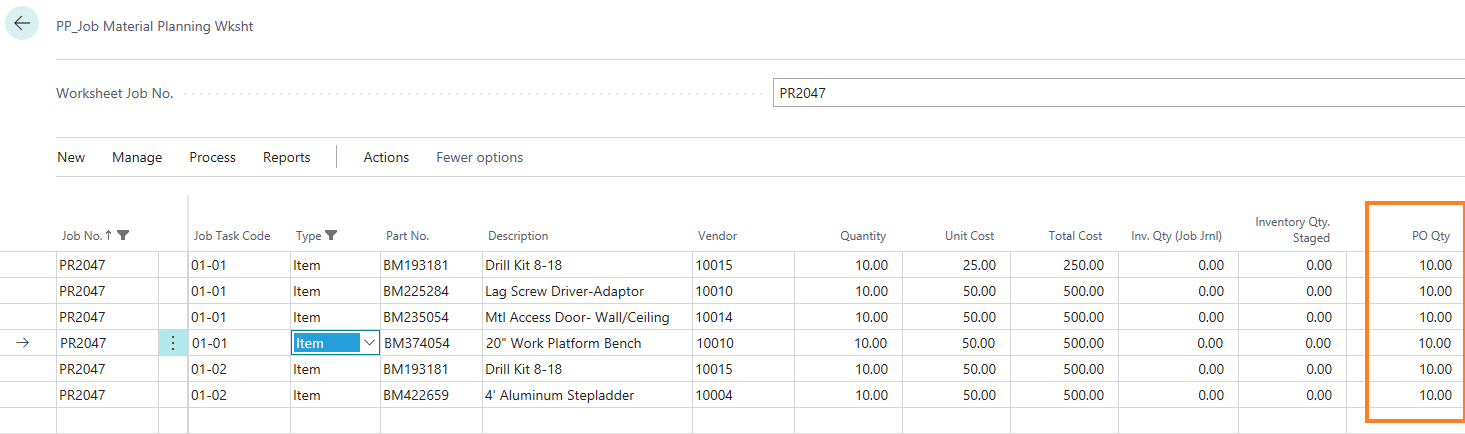
Click On OK and your subsequent PO would be generated. Close out the Requisition Worksheet and review the Job Material Planning Worksheet. You can see that the Purchase Order was created and can drill down from this page to review the PO created from requisition worksheet.
4. RECEIVING ITEMS THROUGH REQUISITION WORKSHEET
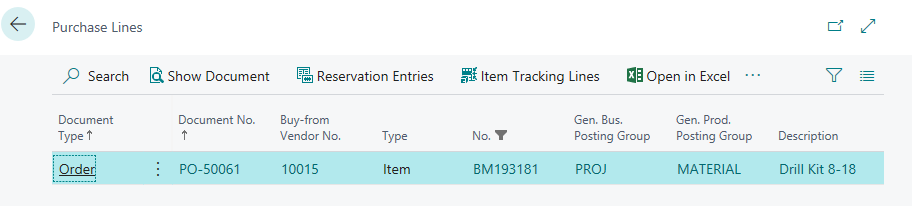
Selecting Purchase Order through Requisition Worksheet to record Receipts
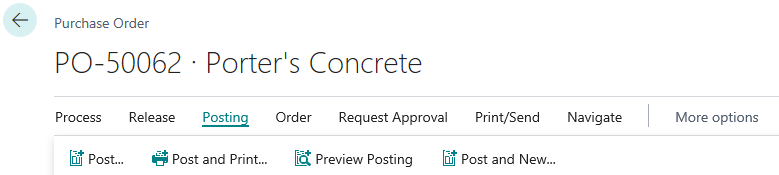
Click On “Show document” to open the PO.
When the item is ready to be received, go to the Purchase Order through the JMP Worksheet (shown in the above step).
If you would like to “Stage” this item to be shipped to the job site, click the box “Staged” on the PO lines before receiving it in.
Please review the “Qty. To Receive” field to ensure you are receiving the correct quantity.
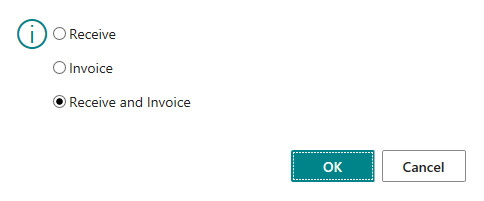
Click on Post under posting tab and click on “Receive” or “Receive and Invoice” option.
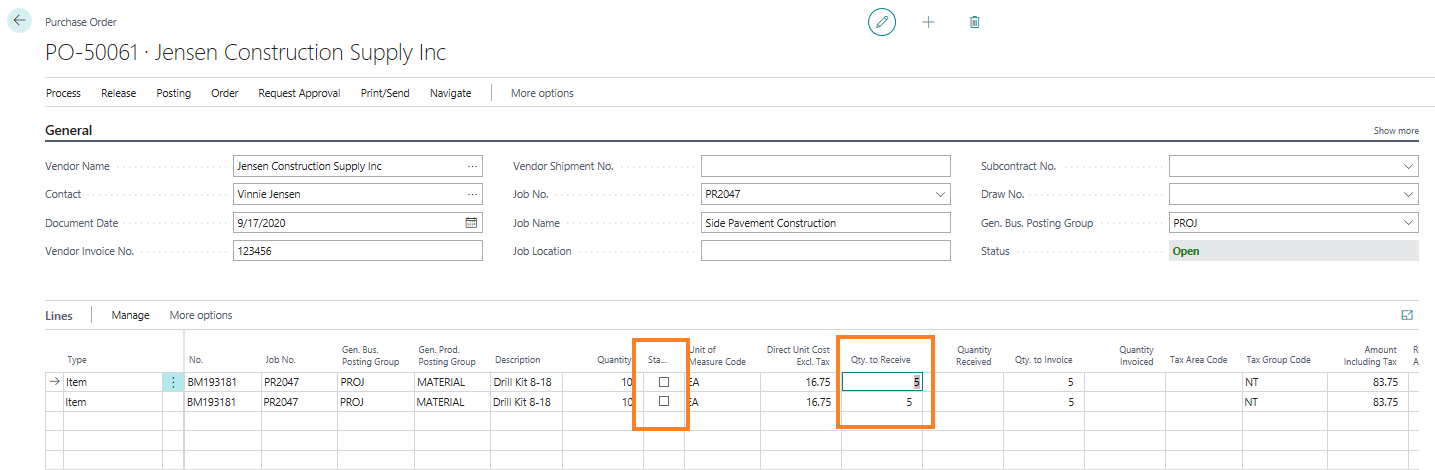
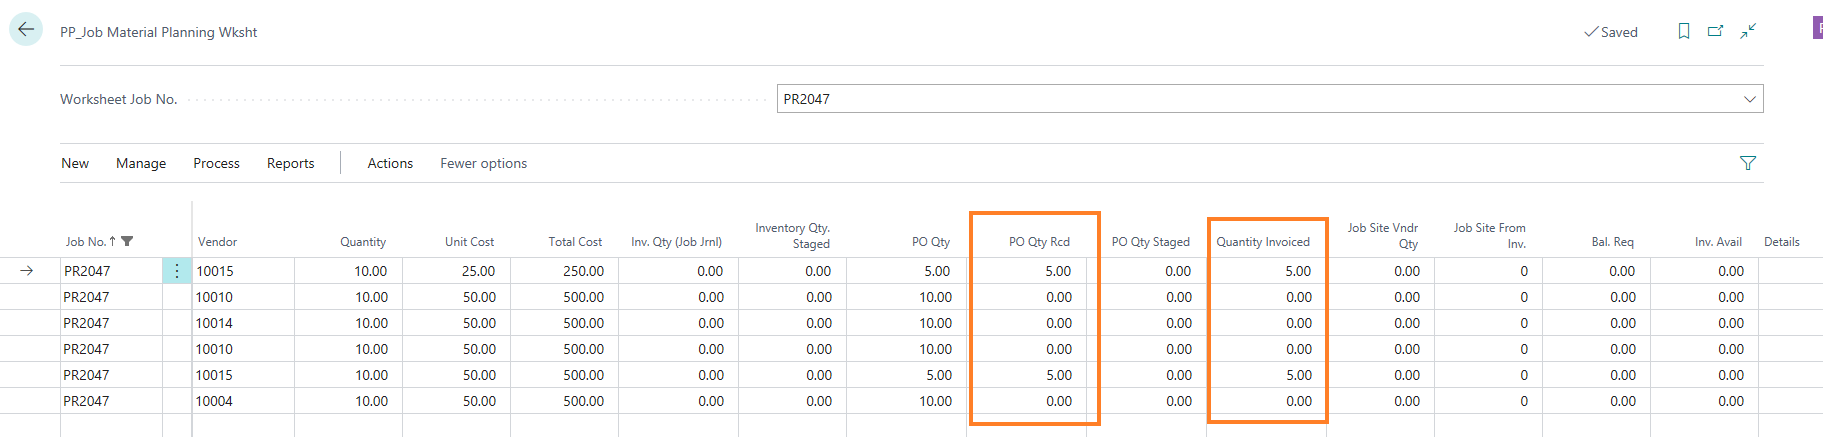
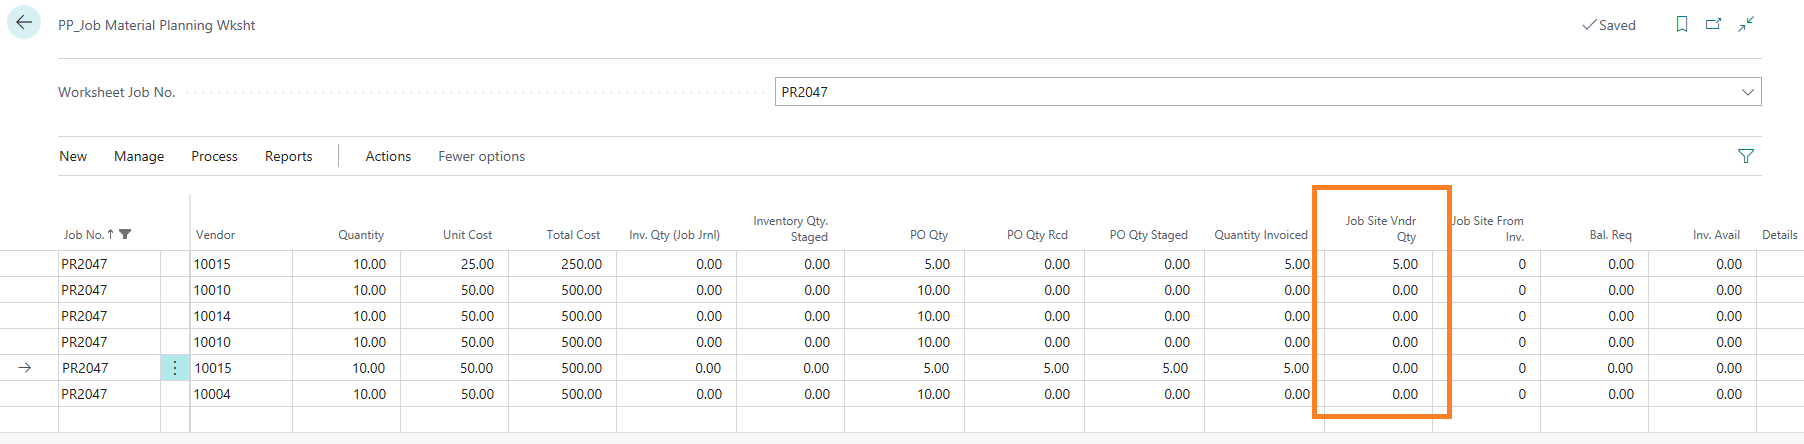
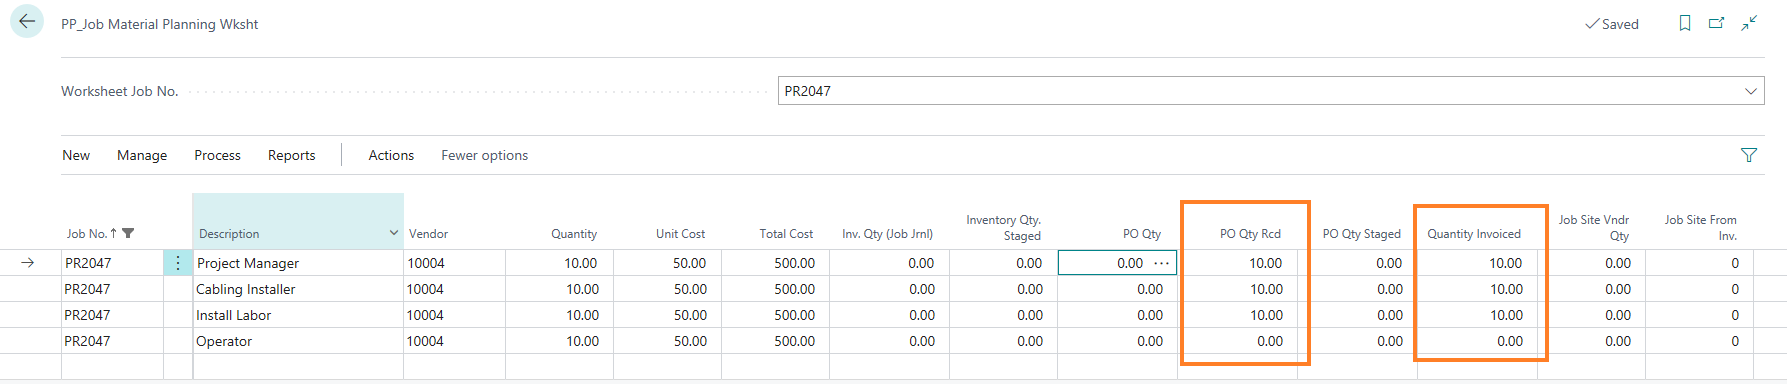
After posting the PO with partial Quantity of 5, you can see that JMP Worksheet is updated with “PO Qty.” as showing that an outstanding PO exists with quantity 5. Also, “PO Qty Rcd.” and “Quantity Invoiced” fields are showing the quantities that have been received and invoiced, respectively.
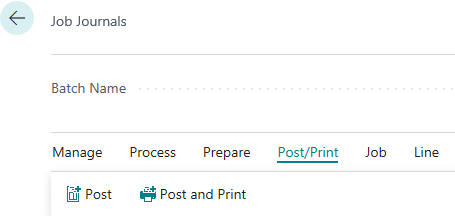
When these staged items are ready to be moved to the staging area, on the JMP worksheet go to Actions → Functions → Job Journal
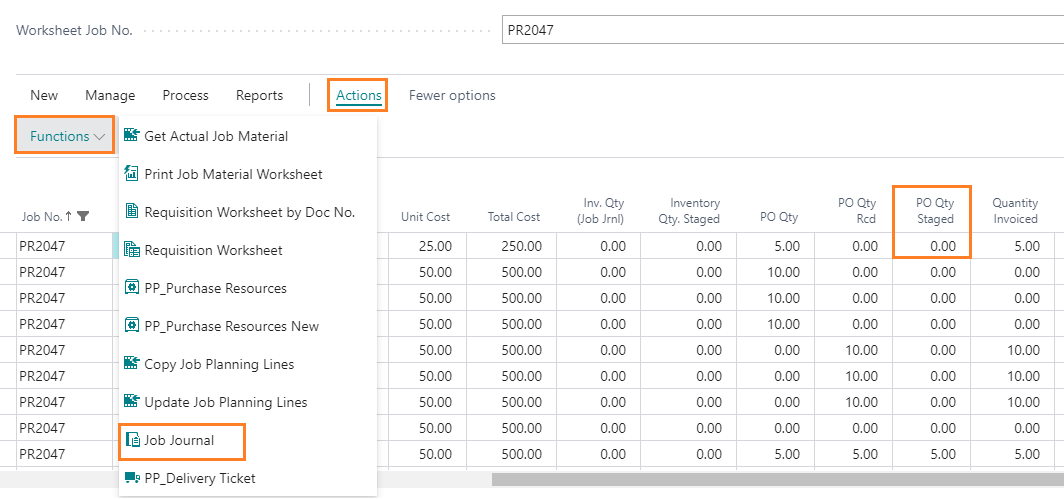
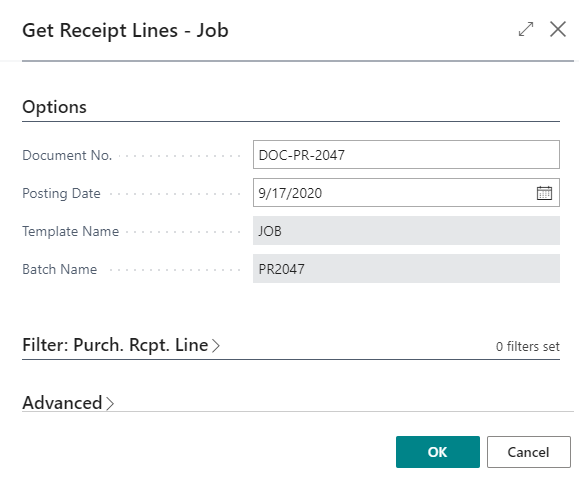
On the Job Journal, click on Process → Get Staged Items

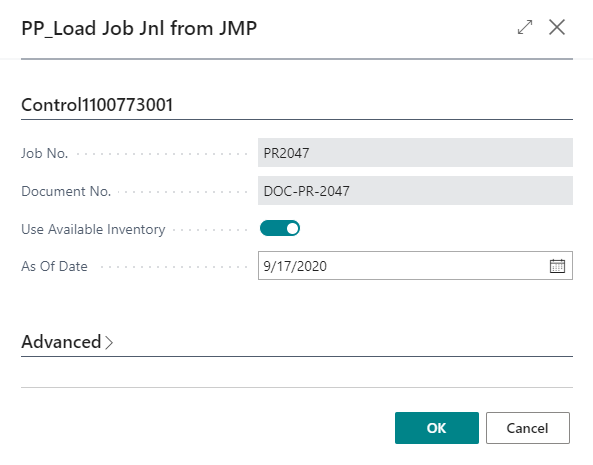
Enter the Document No. mentioned on JMP worksheet and the Posting Date on which you want to post the journal lines.

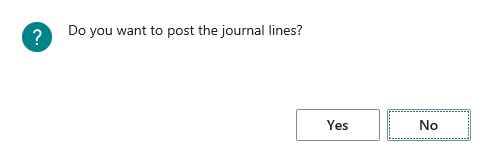
Once the job journal is ready for posting, go to Post/Print → Post
When you revisit the JMP Worksheet, you will see that PO Qty Received of 5 is now in “PO Qty Staged”.

5. CREATING JOB DELIVERY TICKET
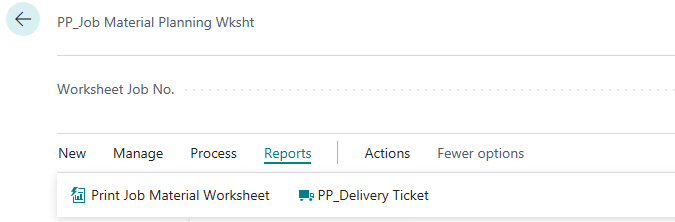
Selecting Delivery Ticket Report from Job Material Worksheet
When items are ready to be shipped to the job site, print the Delivery Ticket for same.
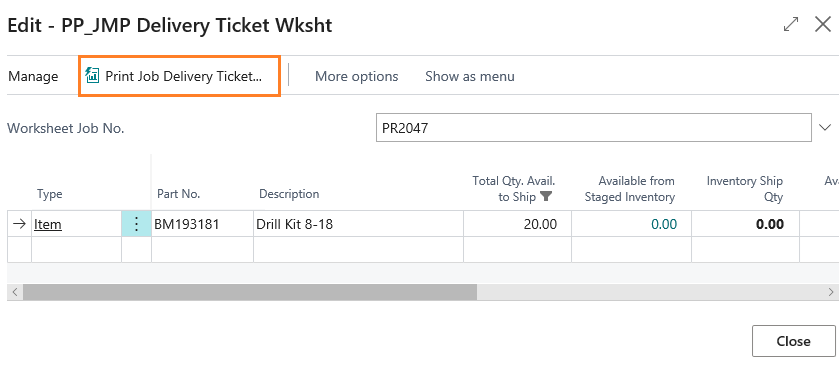
Print the Delivery Ticket with Post off for report only. When you are committed to your delivery of items run the report again and select “Post” to update the Requisition Worksheet that material items have been shipped.

When you revisit the JMP Worksheet, you will see that your “PO Qty. Staged” of 5 is now moved to “Job Site Vendor Qty.”
Option 2: Procurement of Resources
On the JMP Worksheet, go to Process → PP Purchase Resources
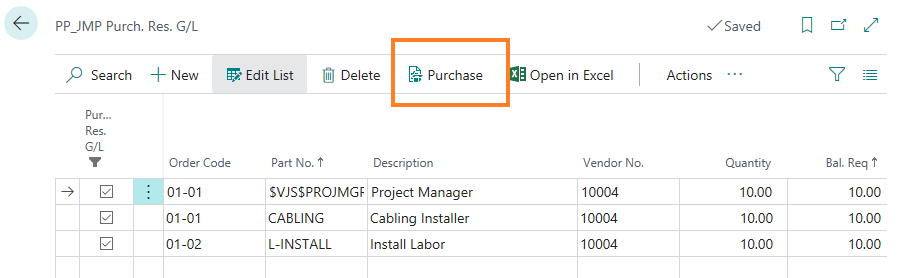
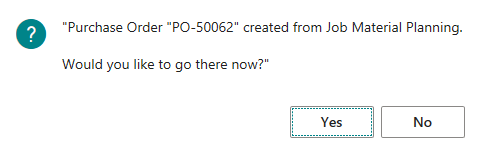
Click on Yes if you want to open the Purchase Order card. When you revisit the JMP Worksheet, you will see that your PO Qty is updated.
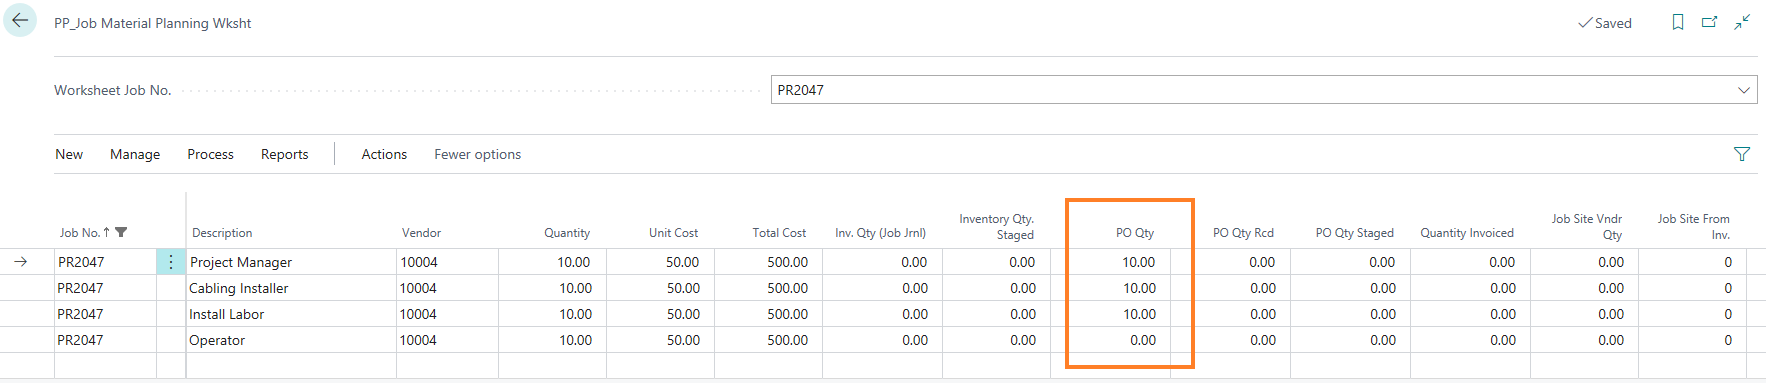
Click on the PO Qty and it would redirect you to PO screen where you can receive these resources.
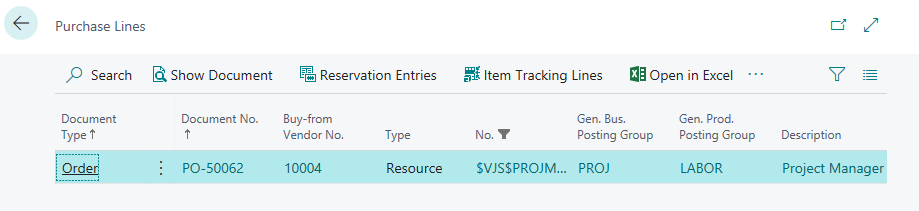
Click on show document to open the PO
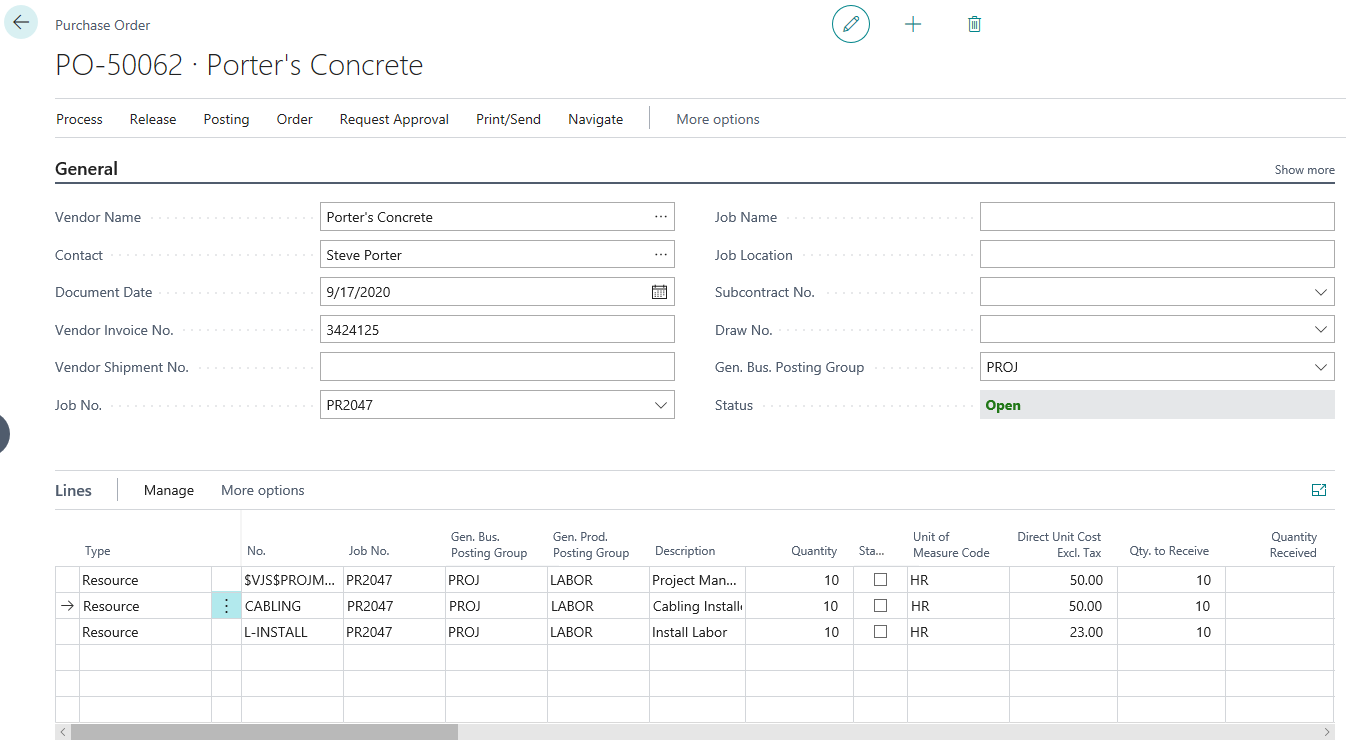
Check the “Qty to Receive” field and post the purchase order.
Depending on the need you can either “Receive” or “Receive and Invoice” the document
When you revisit the JMP Worksheet, you will see that your PO Qty Recd. and Quantity Invoiced field is updated.
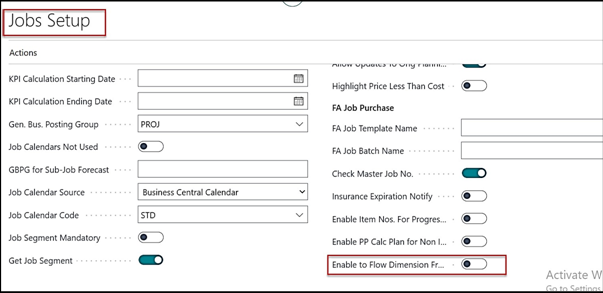
6. Dimensions flow from the Items
To flow the default dimensions from the item card to purchase order from the JMP process we need to disable the Boolean “Enable to flow from Dimension from the Job card”.
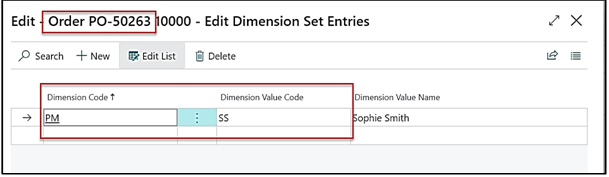
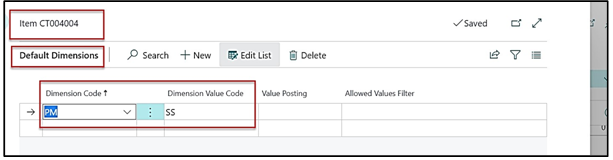
In our example in an item, we have taken Default dimension “PM” with Dimension Value as “SS”
After running the JMP process, a purchase order will be created.On the Purchase order at the line level select the option of Line > Dimensions to view the associated dimension at the line level on a PO.
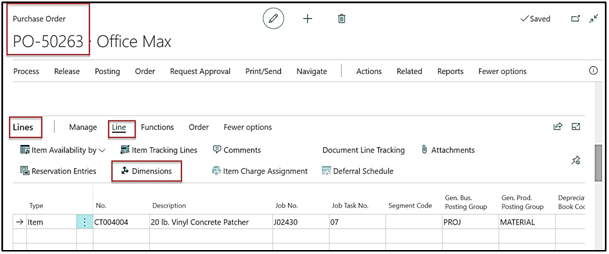
The default dimensions attached on the item card will flow to the Purchase order lines for the associated line items.