Job Journal
This section describes the Job Journal option. The Job Journal option is used for recording usage of resources, items from your inventory and miscellaneous expenditures in connection with a job.
For example, if one of your accountants works for four hours on a particular Job, then you record that time as part of the job in the Job Journal. Or, if you have set aside a certain amount of money for temporary help associated with a job, you can record the use of this money in the Job Journal. Recording resource usage for a Job provides the basis for wages.
You can assign an entry to activities, processes or operations within a job, so that you can compare what you budgeted with what you actually used. Using the Reconcile option, you can also check total quantities entered by the resource to be sure the quantities are accurate. For example, you can compare the journal entries to your time sheets.
Within Job Journal you can:
- Make and edit journal entries.
- Assign entries to activities, processes and operations.
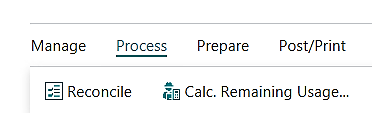
- Reconcile resources.
1. JOURNAL ENTRIES
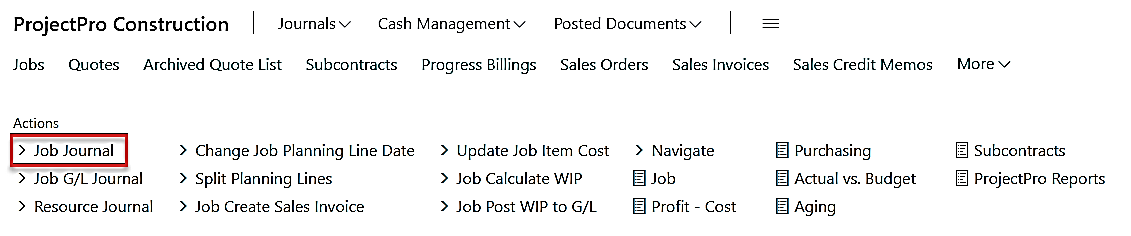
On the ProjectPro Role Center, click on Job Journal from actions.
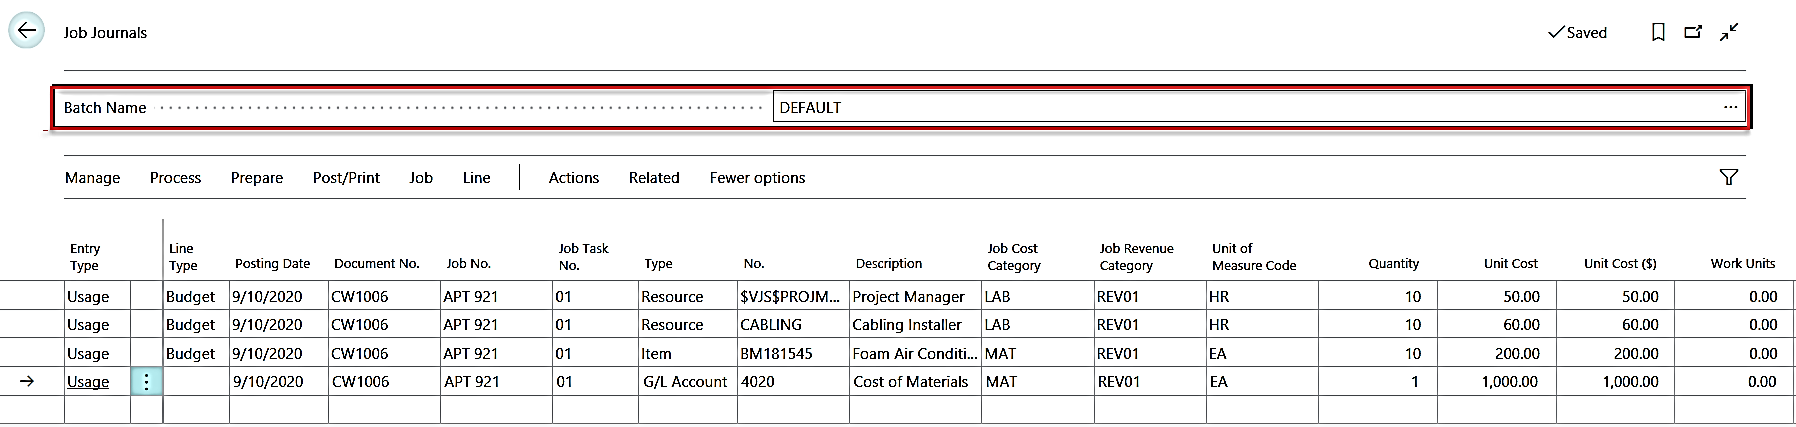
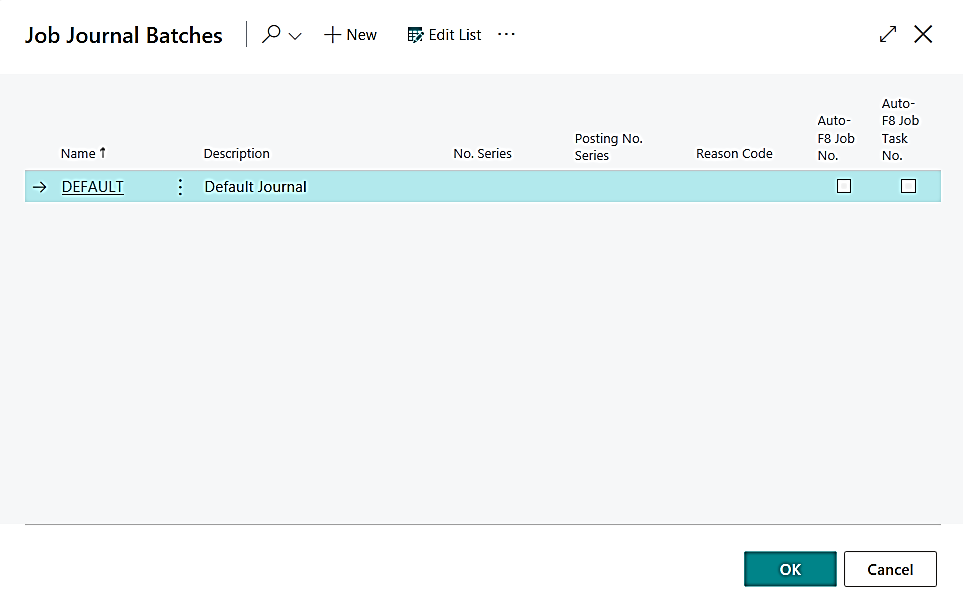
This will open the job journal batch with a specific Batch Name, see highlighted below.
This can be changed by clicking on the drop down, which will show you the complete list of the batches. You can also create a new batch, by clicking on “New” or “Edit List”.
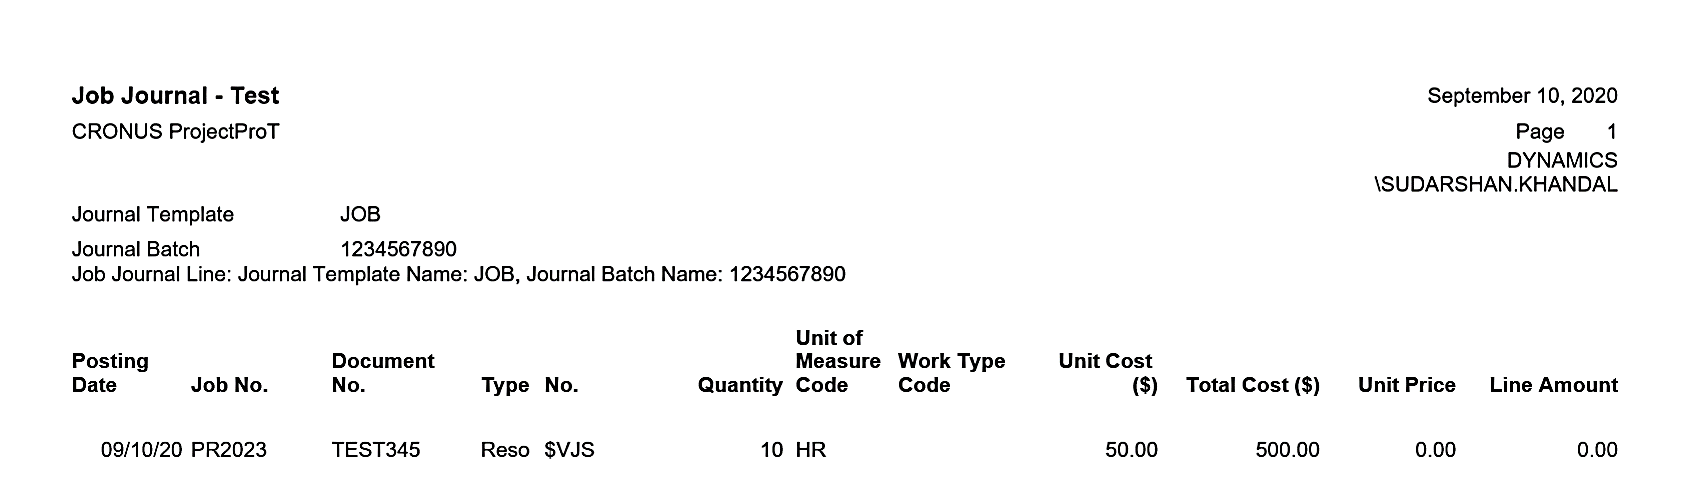
On the selected journal batch, make entries in the various fields. Your window might look slightly different from the window shown above because of your ability to customize windows; however, the fields in the following table should appear in the Job journal.
| FIELDS | COMMENTS: |
|---|---|
| Posting Date | The journal entry date, i.e., posting date. |
| Entry Type |
The journal entry type is for usage, sale, released, payment or earned entries.
|
| Line Type | Both Budget & Billable, or Budget or Billable, whichever applicable for Jab task no. |
| Document No. | The number of the document used in this entry. |
| Job No. | The number of the Job you are making an entry for. For example, if you are recording resource usage for Job number 1001, enter 1001 in the Job No. field. Click the drop down to select from a list of Jobs if you do not know the Job number. The program displays a window that shows you detailed information about the Job, such as the bill-to customer. You can use only those Jobs whose status is ordered. |
| Type |
The type of usage you are entering in the Job, which can be selected from:
If you need materials or items that are not in your inventory, use the purchase order cycle to order the item and use the Get Activity/Process/Operation option to assign the purchase to the Job. |
| No. | Click the drop down to select a resource, item, and account or resource group, depending on what you entered in the Type field. |
| Quantity | Enter the quantity of usage for this transaction. For example, for 4 hours of an accountant’s time, enter 4 here. If you selected G/L Account as the type of usage, enter 1 here and the actual usage amount in the Unit Cost field. |
| Unit of Measure Code | This code specifies how the type of entry is measured. The program enters this information based on what you entered in the Type and No. fields. For example, if you entered the type as Resource and the resource card is set up in hours, the program enters Hours in the Unit of Measure Code field. |
| Work Type Code | The type of work being done in the entry. A Job can have several different work types, such as overtime driving or working with heavy machinery. The program adjusts the prices for the Job depending on the work type you enter. If you need a work type that does not appear when you click the Assist Button ⇪, see Resources Manual for instructions on creating additional work types. |
| Job Task No. | The number of the Job Task you are making an entry for |
| Segment Code | Enter the Segment code if required |
| Revenue Category | Enter the Revenue Code if required |
| Job Cost Category | Enter the Cost Code if required |
| Unit Cost | The program displays the unit cost here if you enter an item or an item group. If you entered an account, you must enter the total amount. |
| Total Cost | This field shows you the total cost for the entry. The cost equals the unit cost times the quantity. |
| Unit Price | This field shows you the unit price for the resource or item in the entry. The program retrieves this information from the resource or item card unless you have set up alternative prices for the resource or item. |
| Description | The program automatically displays the name of the resource, item or account you entered. This serves as a convenient way to make sure you selected the correct one. This makes transactions easier to identify when you look at the various reports and transaction registers. |
| Dept. Code | Select the Global Dimension1 if required or it will automatically get updated from the Job Card |
| Div. Code | Select the Global Dimension2 if required or it will automatically get updated from the Job Card |
| Time Sheet No. | Specifies the number of a time sheet. A number is assigned to each time sheet when it is created. You cannot edit the number. |
| Pm Code | Project manager code |
*Note: Resource entries in the Job journal will post directly to G/L.
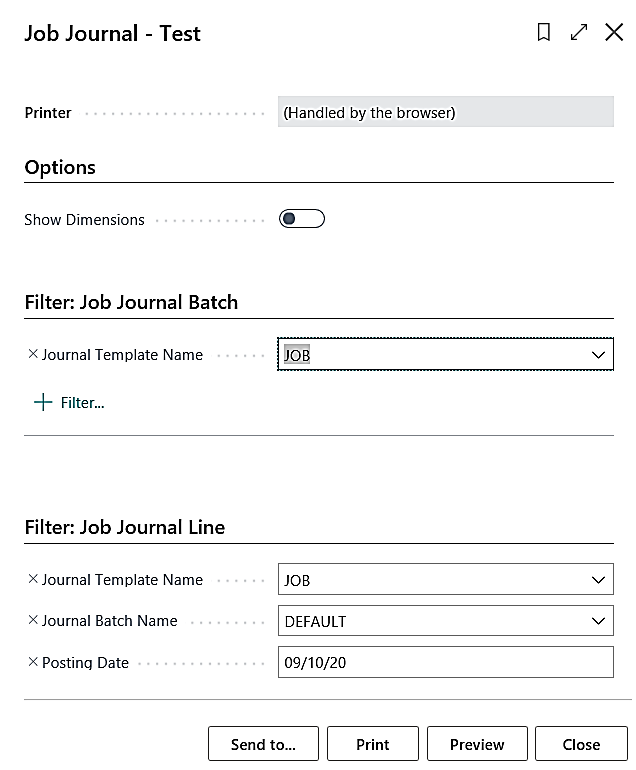
2. CALCULATING REMAINING USAGE
From the Job Journal window, click Calc. Remaining Usage
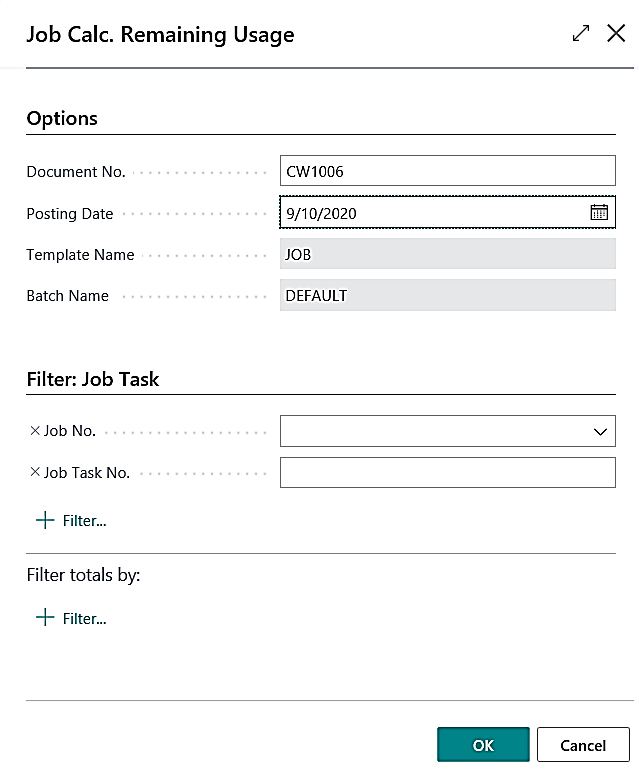
Enter a Document No. and Posting Date for the journal lines. Enter a Job No. filter and if needed Job Task No. filter. Click OK
This will pull in all the remaining usage lines for a Job.
3. CHECKING JOB JOURNAL ENTRIES
This section describes the Test Report option in Job Journal. Click Actions → Posting → Test Report.
The Test Report option simulates a posting and flags common errors that will prevent the entries from posting. Although you are not required to test entries before you post them, using this option will save you some time, especially if you are posting in Business Central for the first time.
The Test Report option checks entries for the following errors:
- The posting date is outside of the current posting period.
- The Job Number field is blank.
- The Number field is blank.
- The entry in the Date field is a closing date.
- The Job is blocked.
- The Job’s status is not an order.
- The Posting Group field is blank.
- The entry is not a general ledger account entry.
Before You Begin
- Make sure you have made all the necessary journal entries.
- Make sure your general ledger accounts are set up correctly.
- Make sure you have set up all the correct Jobs and their posting groups.
you have successfully tested your entries, you are ready to post them and print the posting report.
4. POSTING AND PRINTING JOB JOURNAL ENTRIES
This section describes the posting options in the Post/Print menu when you are working in a journal. These options let you post entries and print the posting report after posting.
Before you begin, make sure you have made all the necessary journal entries. Also make sure you have tested the posting.
Follow these instructions to post your Job journal entries:
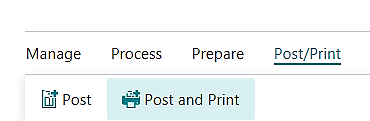
- Click Post to post the entries without printing a posting report.
OR - Click Post and Print to post the entries and print a posting report.
- The program displays a message asking you to verify the posting.
- Click Yes to continue with the posting.
- If the program detects an error, it displays a message.
- If you have problems posting your entries, the program cancels the posting and usually displays a message describing the error.
- Use the Actions → Posting → Test Report option to test the posting.
- If the program tells you the date is not in the posting date range, check the dates in the “Allow Posting .From” and “Allow Posting To” fields on both the General Ledger Setup and User Setup.
- Also, make sure your accounting periods are set up correctly
- If the posting is successful, the program removes the posted entries from the job journal batch.
When you have posted your entries, you are ready to print reports.
When posting resources as a “Usage” transaction you can optionally post directly to General Ledger entries. Job Setup contains the option to activate Direct Post to G/L.
5. WORKING WITH JOB REGISTERS
This section describes how to work with transaction registers. Transaction registers are records of postings, i.e., it tells you about who updated the ledger and when. The Registers option in the Jobs application area lets you view more detailed information on transaction registers in the Job ledger areas.
Follow these steps to view Job transaction registers:
- Using the Search icon, search for Job Registers and select the related link.
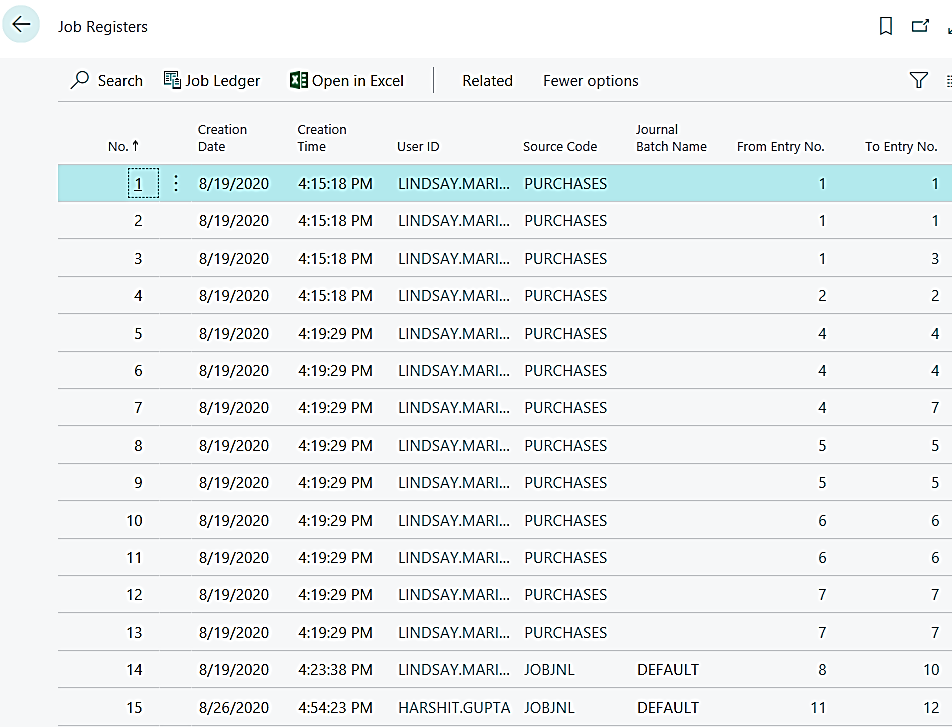
- Select the information you would like to view or print.
- To look at information filtered by a particular field, click the field you want to view.
- The Job Registers option lets you select a specific Job Ledger to view.
- From the Job Registers window, click Job Ledger to see individual entries.

- This will open the job ledger entries for the selected register entry, see below.

If you had a problem with balancing an account or getting the correct amounts on a report or document, and you looked at a transaction register to help you find the problem, you can now correct the error.
To print a resource ledger, search for Job Ledger using search icon and click related link under Reports and Analysis section. You can print one or more ledgers by specifying their numbers in a filter.
Attention: If there are many entries posted and you print a Job register without a filter, the reports may be very long.