Ch 07 – Change Order and Work Order
Contents
| INTRODUCTION |
| CHANGE ORDER/WORK ORDER |
| Projects Setup |
| 1. Change Order |
| 2. Work Order |
| 3. Sub Project |
INTRODUCTION
A Change Order represents the mutual consensus between the parties on a change to the work, the price, the schedule, or some other term of the contract. As such, a change order must be written out and approved by all parties, which can take time, money, and patience to complete. It acts as an extension of the contract and ensures that all parties understand their new duties and expectations. It details the specific changes the client wants and provides legal notice of any adjustments to the price and timeline that the client should expect.
Projects Setup
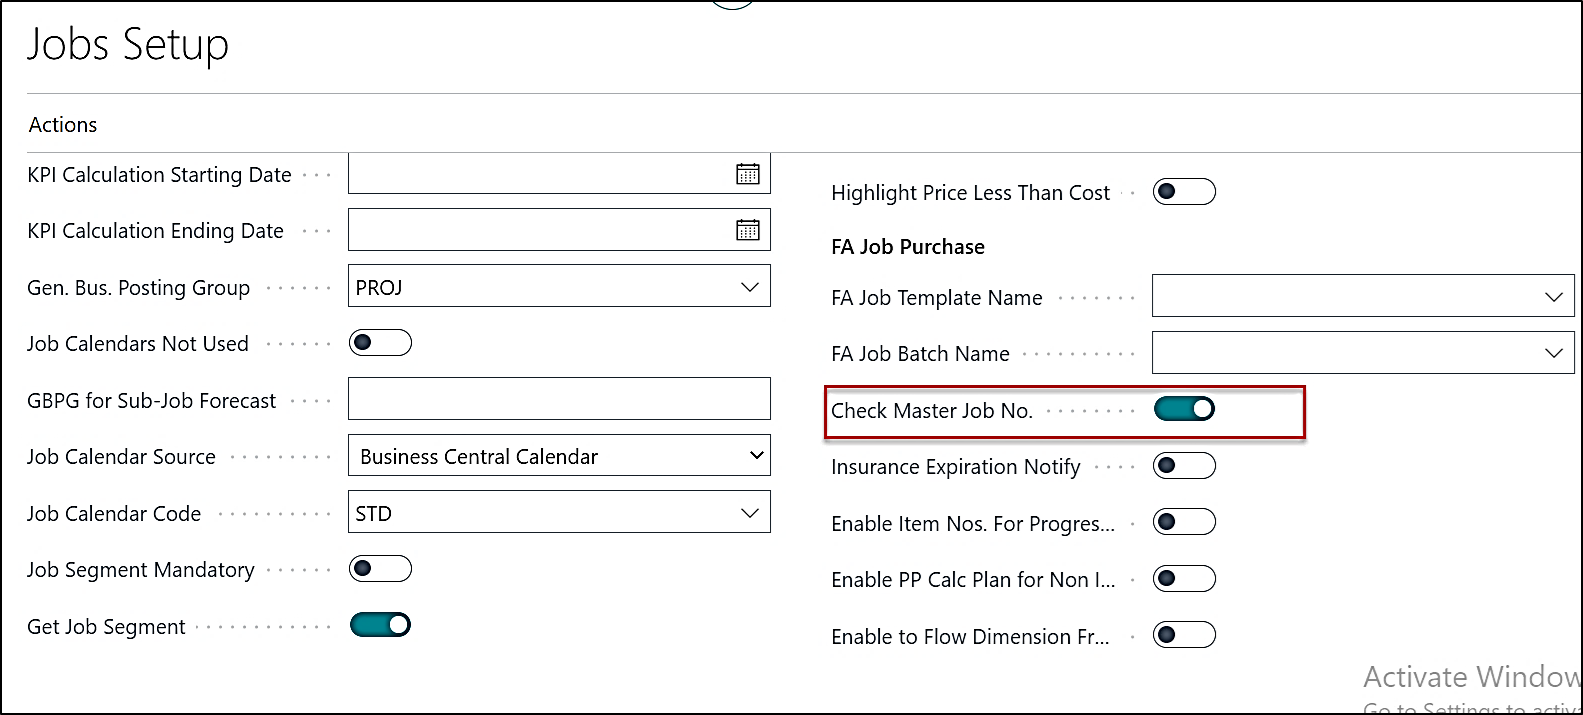
1. To create the Change Order/Work Order one must make sure that “Check Master Project No.” on the General fast tab of the Projects Setup is checked. This is to ensure that while creating Change Order/Work Order, you have the option to create project planning lines for project tasks related to the Master Project.
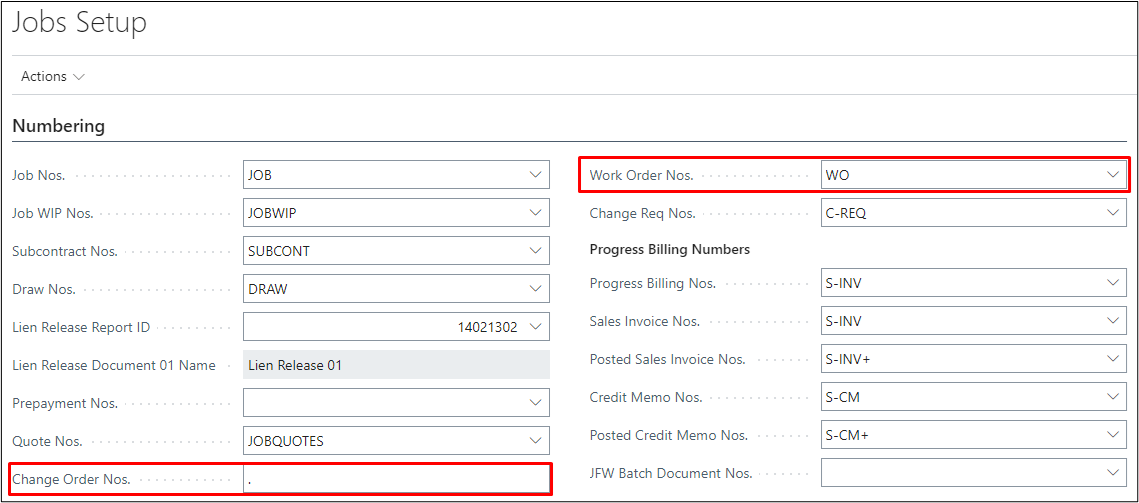
2. Set up the No. Series for Change Order/Work Order on the Numbering fast tab of the Project Setup.
a) For Change Order we only specify the “.” as Change Order Nos.
b) For Work Order you can choose from No. Series defined for the Work Order.
1. Change Order
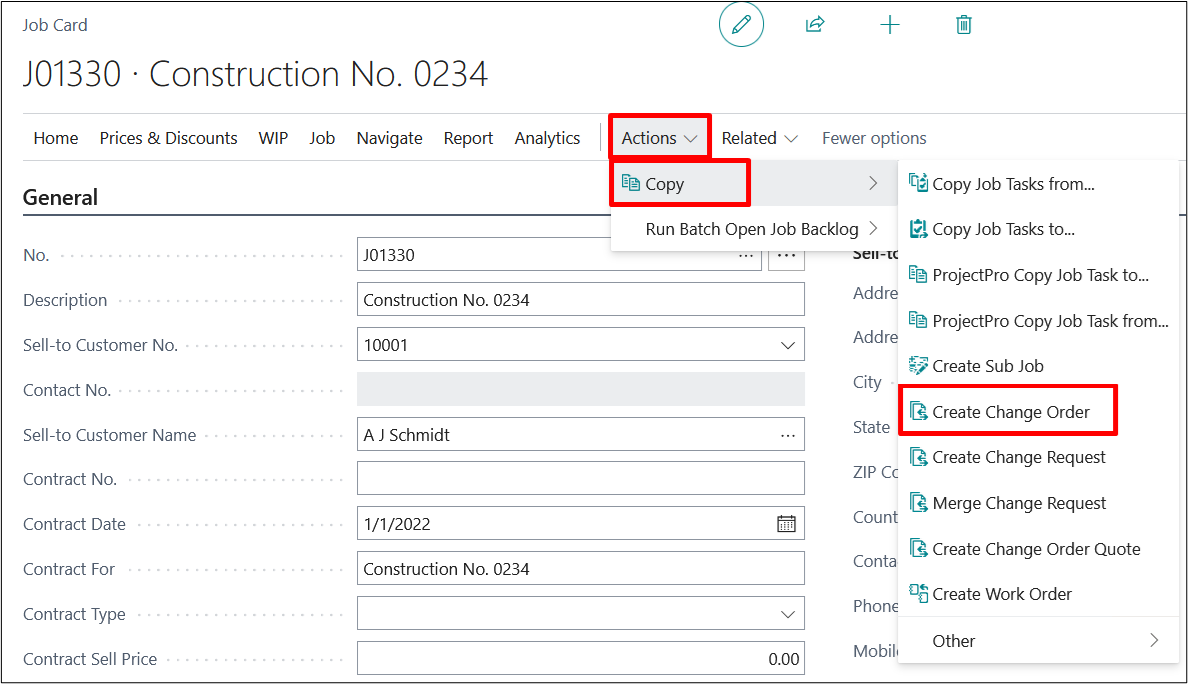
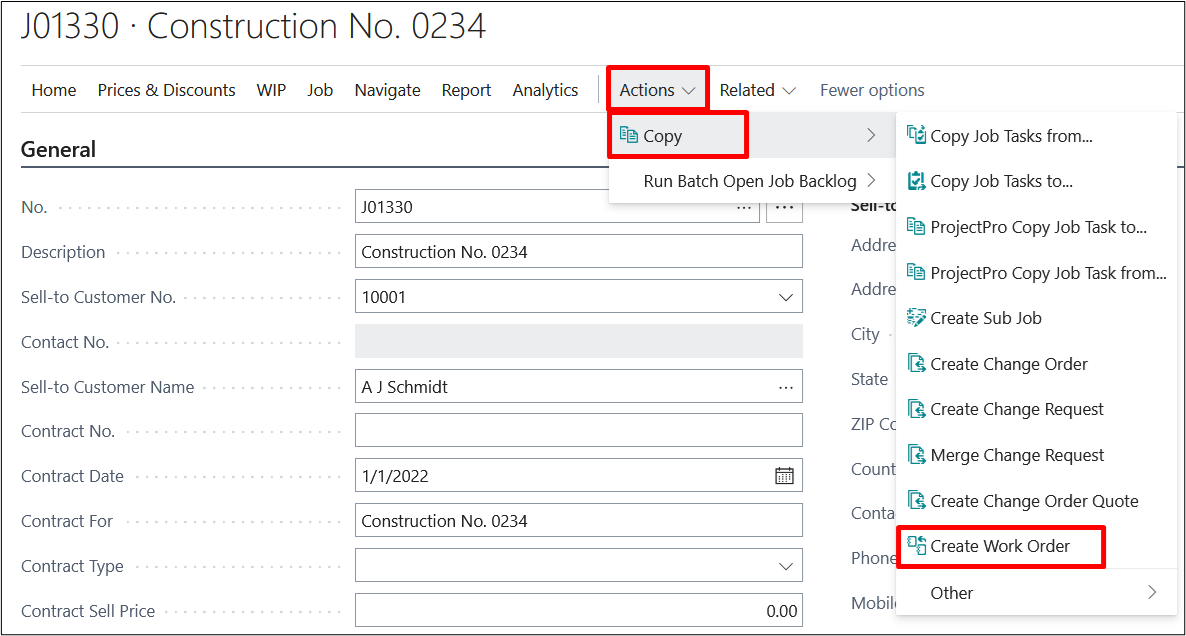
On the Project card to create a Change Order, click on Actions → Copy → Create Change Order
When you click on the “Create Change Order” you get the below mentioned dialogue box.
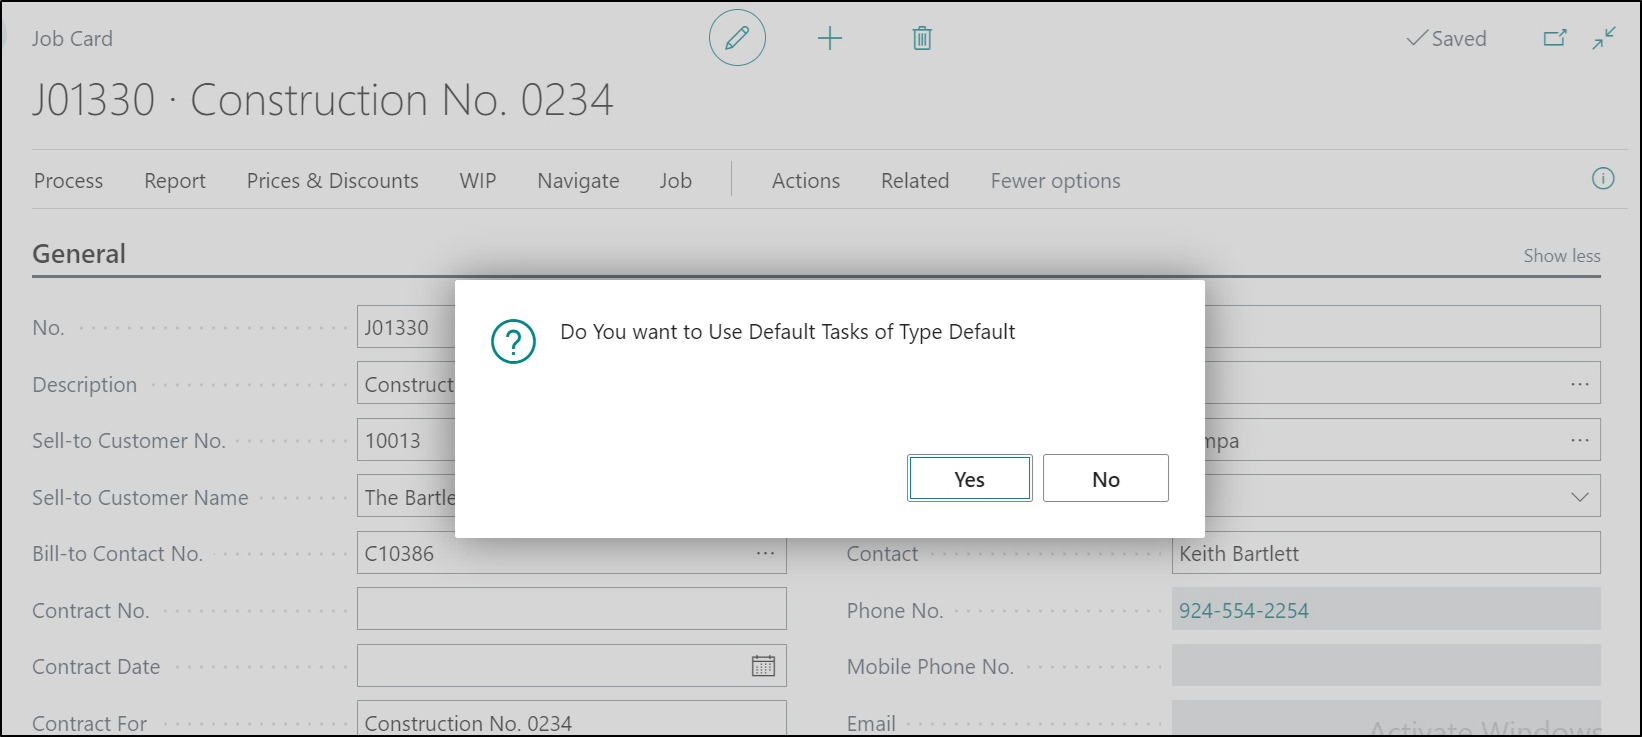
Click on “Yes” if you want Default Tasks or else “No”. When you click “No”, the following screen will appear.
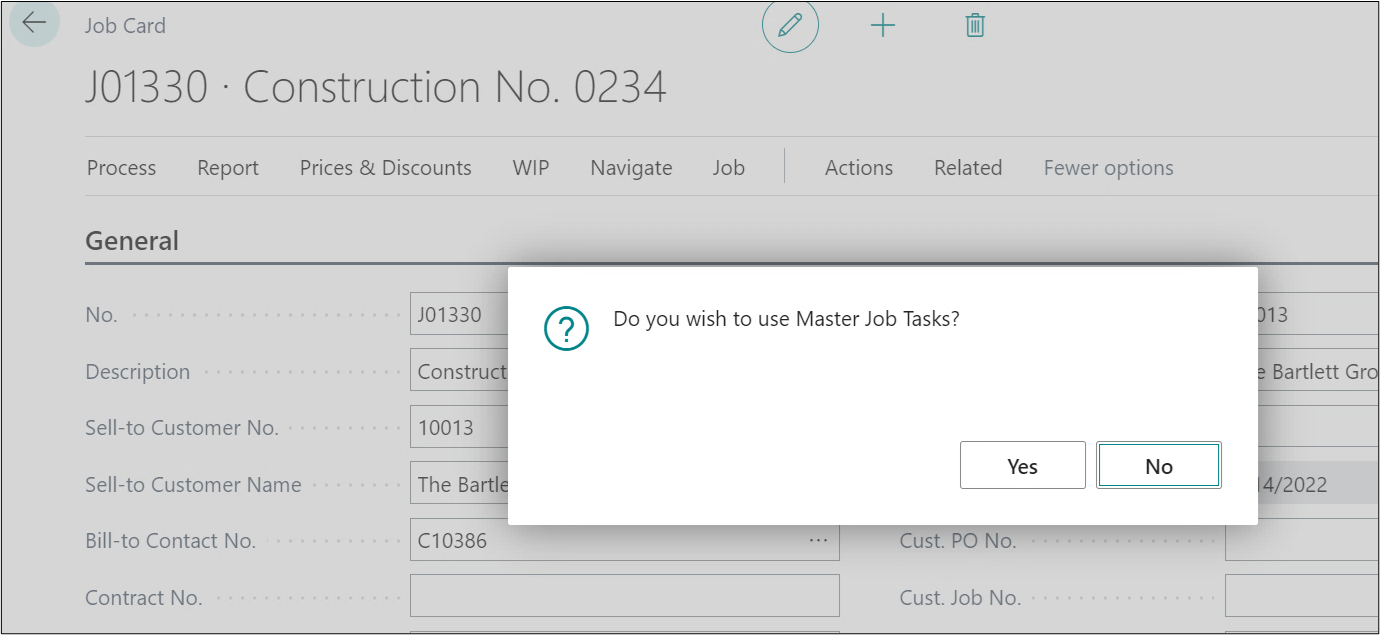
Note: This message will only appear if the setup “Check Master Project No.” on the project’s setup is True.
Click on “Yes” to update the Tasks that are available on the Master Project and the change order is created.
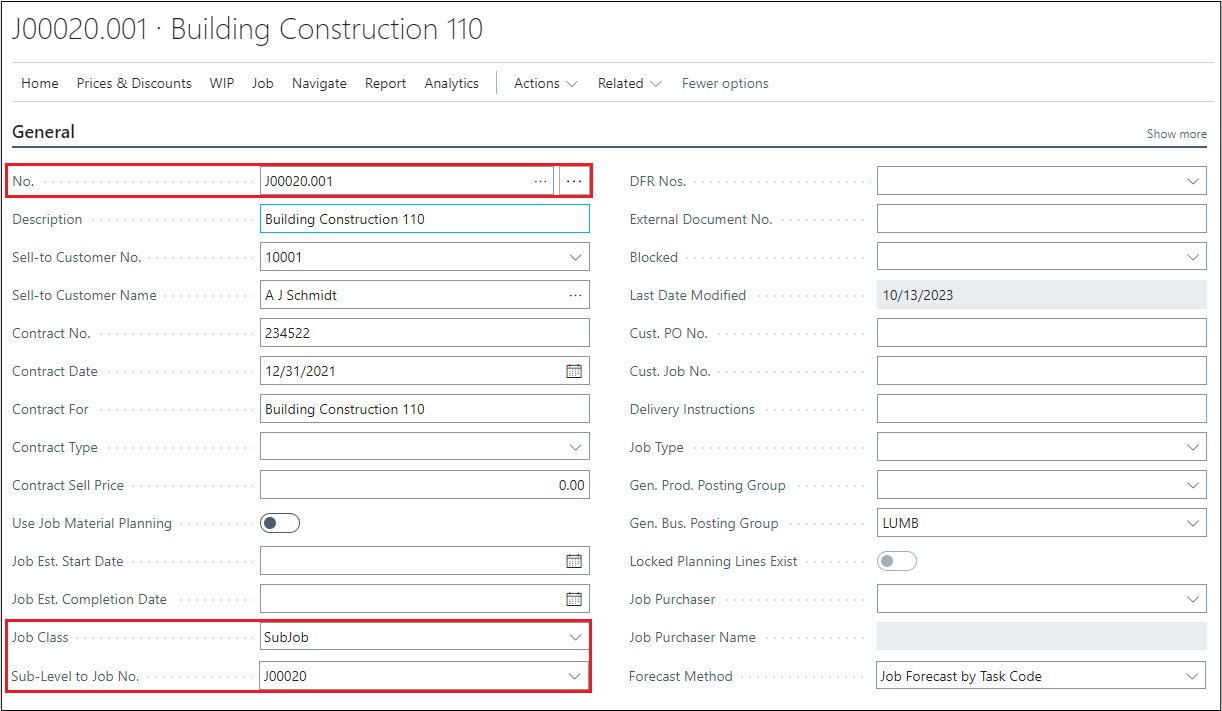
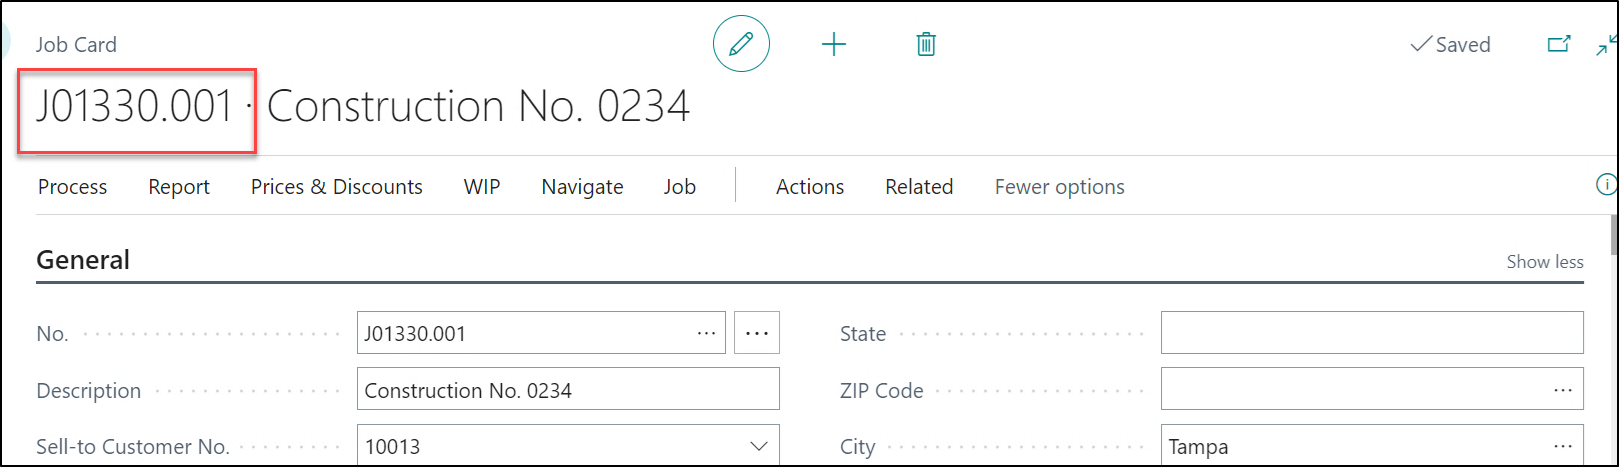
After creating the change order, the change order card will be assigned a No. Series of .001 indicating as a first change order for a master project.
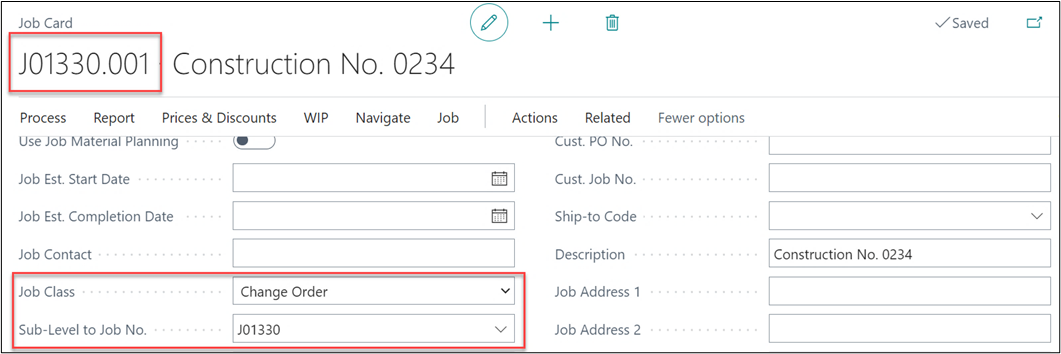
Within the change order we can see the Project class as the change order and the master project from which the change order has been created.
2. Work Order
To create a Work Order, click on Actions → Copy → Create Work Order.
When you click on the “Create Work Order” you get the below mentioned dialogue box.
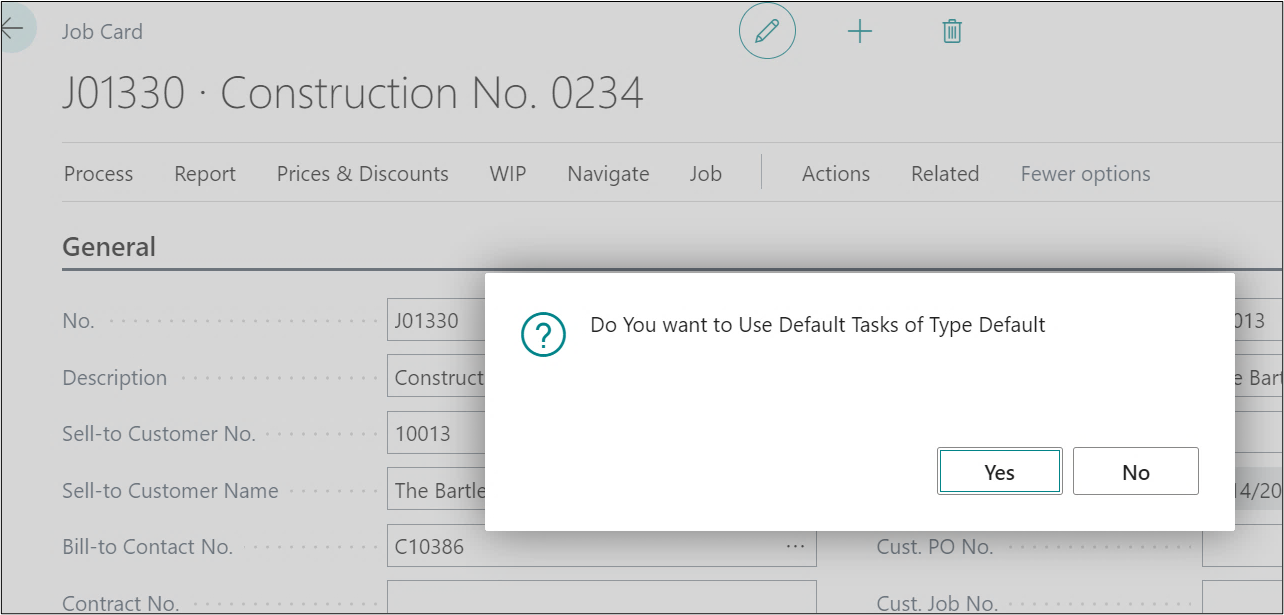
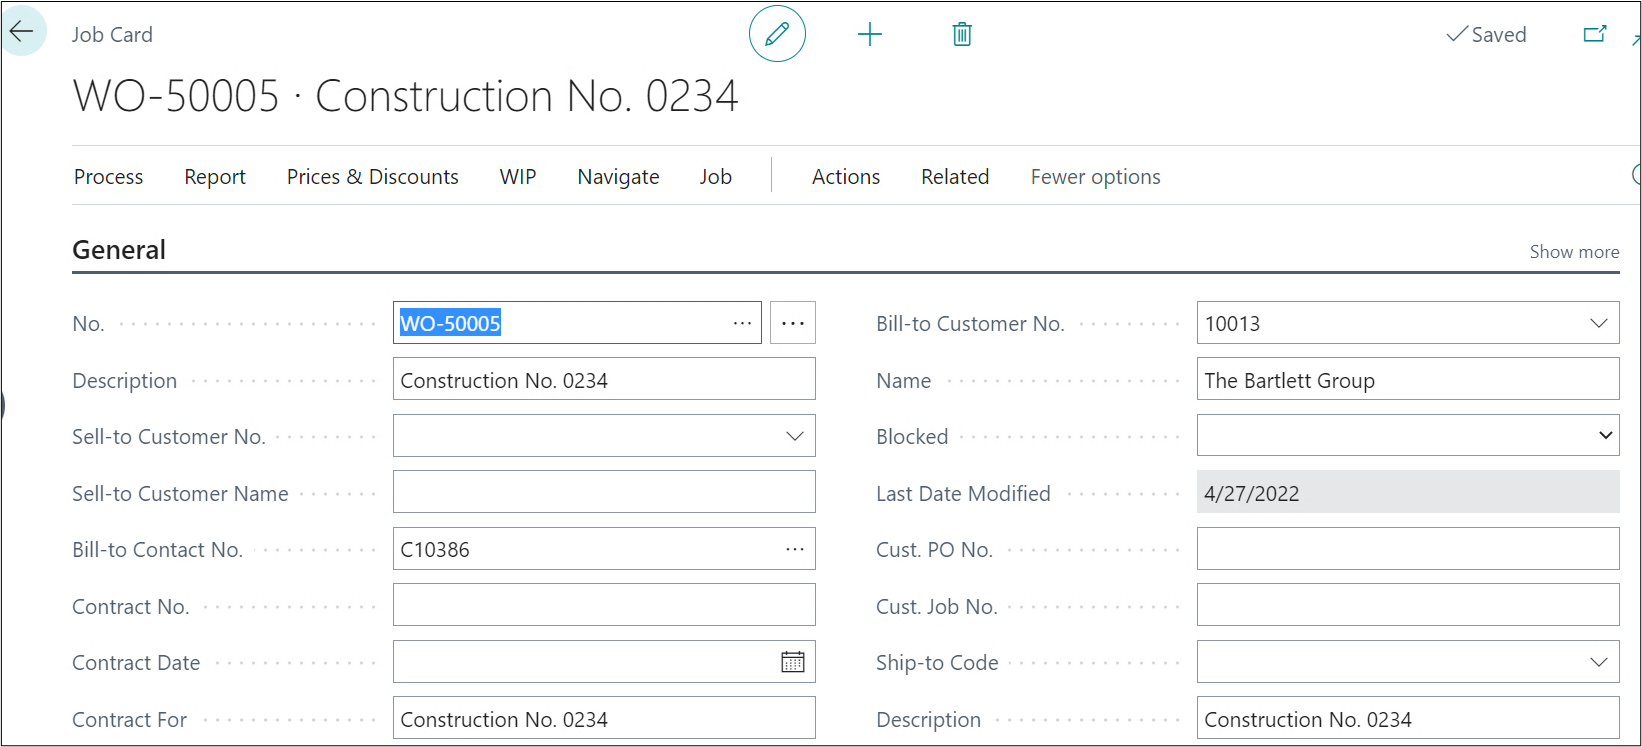
For creating Work Order, you can choose to use the Default Tasks or not. After clicking on “Yes” or “No” your Work Order will be created with no. series WO as a new Project.
3. Sub Project
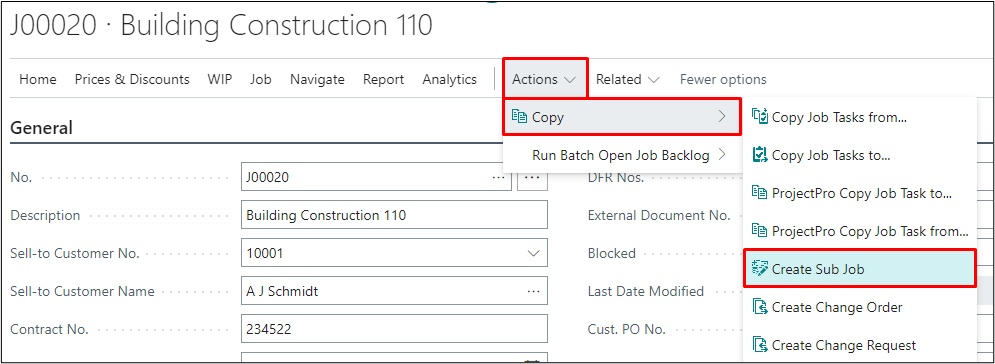
To create a Work Order, click on Actions → Copy → Create Sub Project.
When you click on the “Create Sub Project”, the system directly creates a sub-project using same No. Series as the Change Order (.001, .002, .003, …) and it will be created in a continuation.
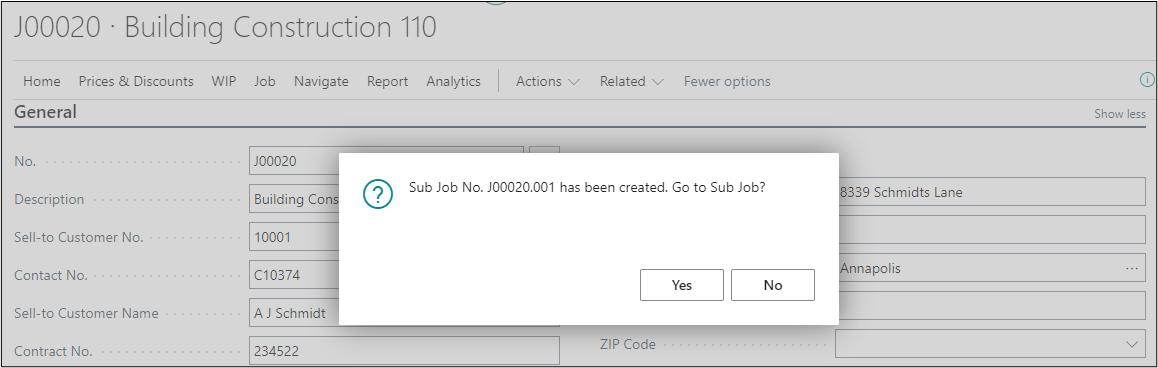
If you click on Yes, the system will take to the Sub Project created, see below. Within the sub project you can see the Project Class as the Sub Project and the master project from which the sub project has been created.